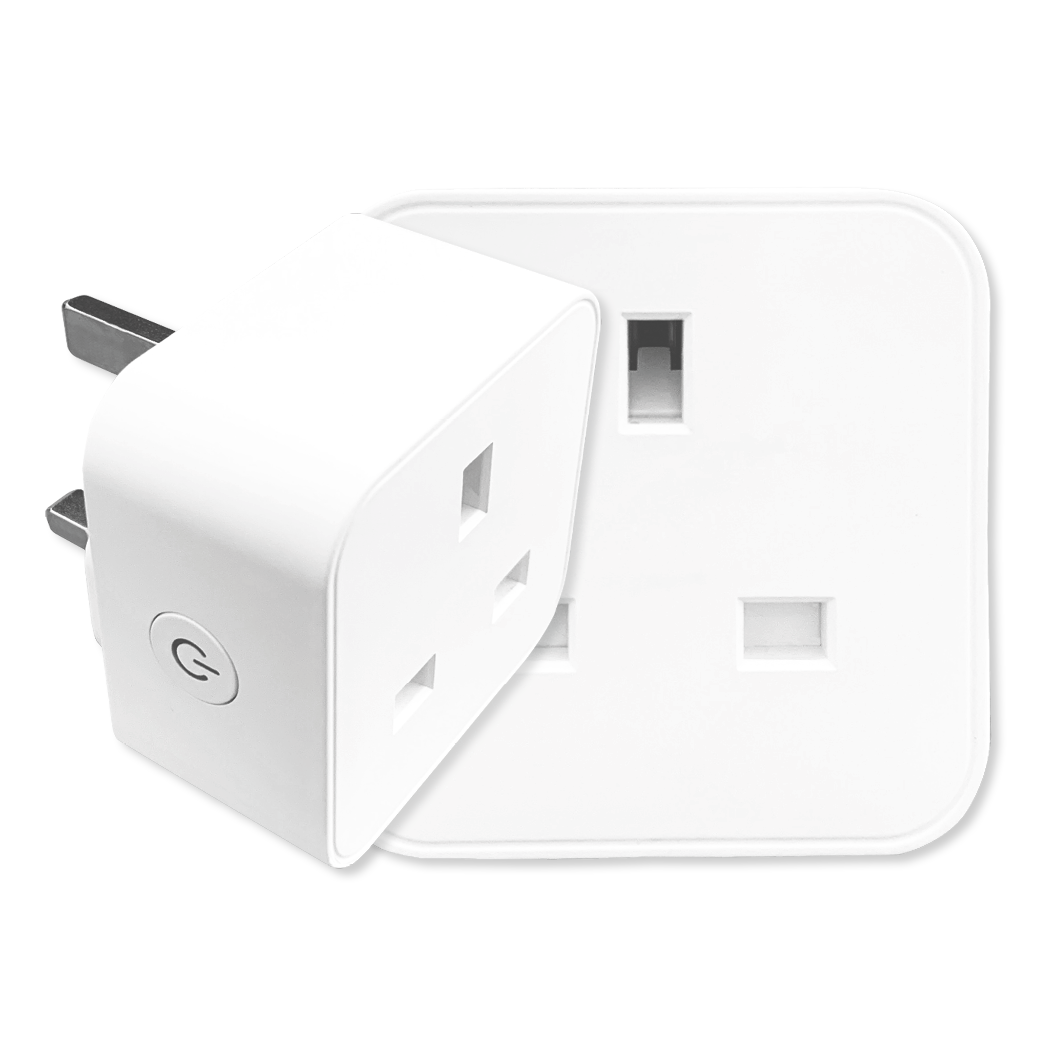
Electrical rating
230VAC 50Hz
Maximum load
13A load 2990W general use
Working temperature
-20°C to 50°C
Wireless type
Wi-Fi 2.4GHz
Dimensions (W x H x D)
58 x 58 x 39mm (excluding pins)
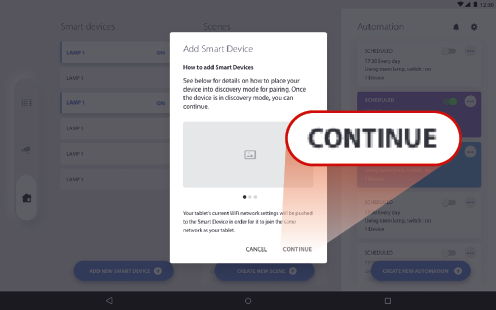
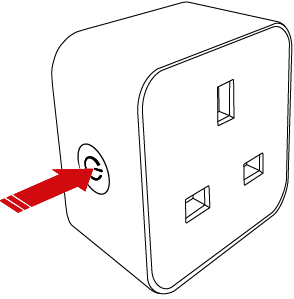
Discovery mode allows the device to be seen by devices that are searching for it.
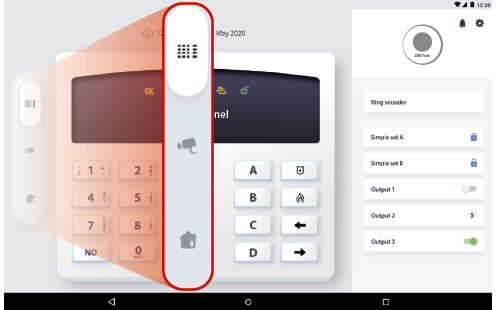
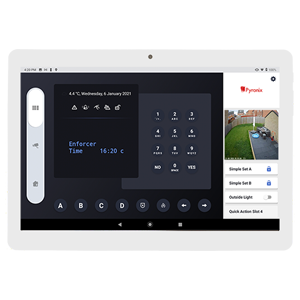
Manage your alarm system, views cameras and control home automation; all from the same app.
A multifunctional and adaptable home screen allows a camera to stream live to your home screen, alongside the system areas and controllable output shortcuts.
Simultaneously view multiple cameras in or around your property.
Control the cameras functions such as audio, tilt and zoom.
Tailor the visuals of the home screen to suit personal preferences.
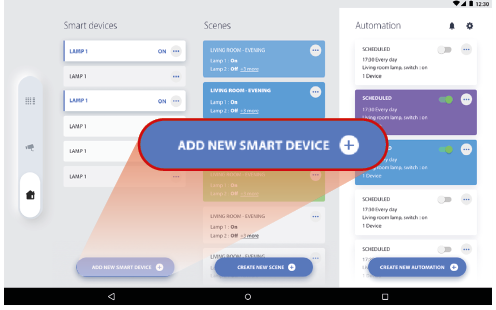
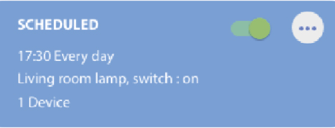 Automations are tasks that are pre-programmed to be carried out by the smart devices. When a certain event occurs or when a specific time is reached, the task(s) will trigger automatically depending on programming; they require no interaction from the user.
 Scenes are a series of tasks that are user initiated. Once started, the scene will progress from each task to the next until it has completed the sequence.
Check the tablet and SmartPlug are connected to the same Wi-Fi network and the tablet, SmartPlug and Wi-Fi router all have power.
Yes it can be factory reset.
To factory reset the device:
For electrical products sold within the European Community. At the end of the electrical products life, it should not be disposed of with household waste. Please recycle where facilities exist. Check with your Local Authority or retailer for recycling advice in your country.
Hereby Pyronix declares that this product is in compliance with the essential requirements and other relevant provisions of Directive 2014/53/EU. The declaration of conformity may be consulted at www.pyronix.com/product-compliance.php
 Arming Devices
 Communication Devices
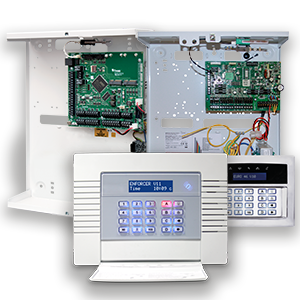 Control Panels
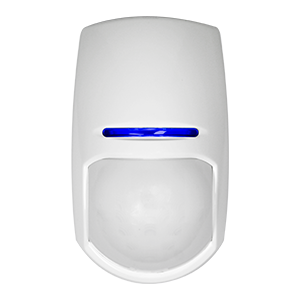 Detectors & Sensors
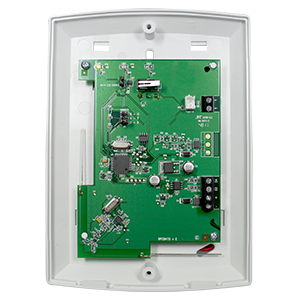 Expanders
 Legacy Products
 Smart Home Devices
 Software & Services
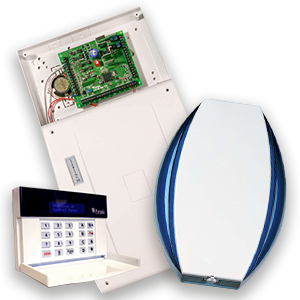
 Sounders & Bells
 Wi-Fi Cameras