Additions:
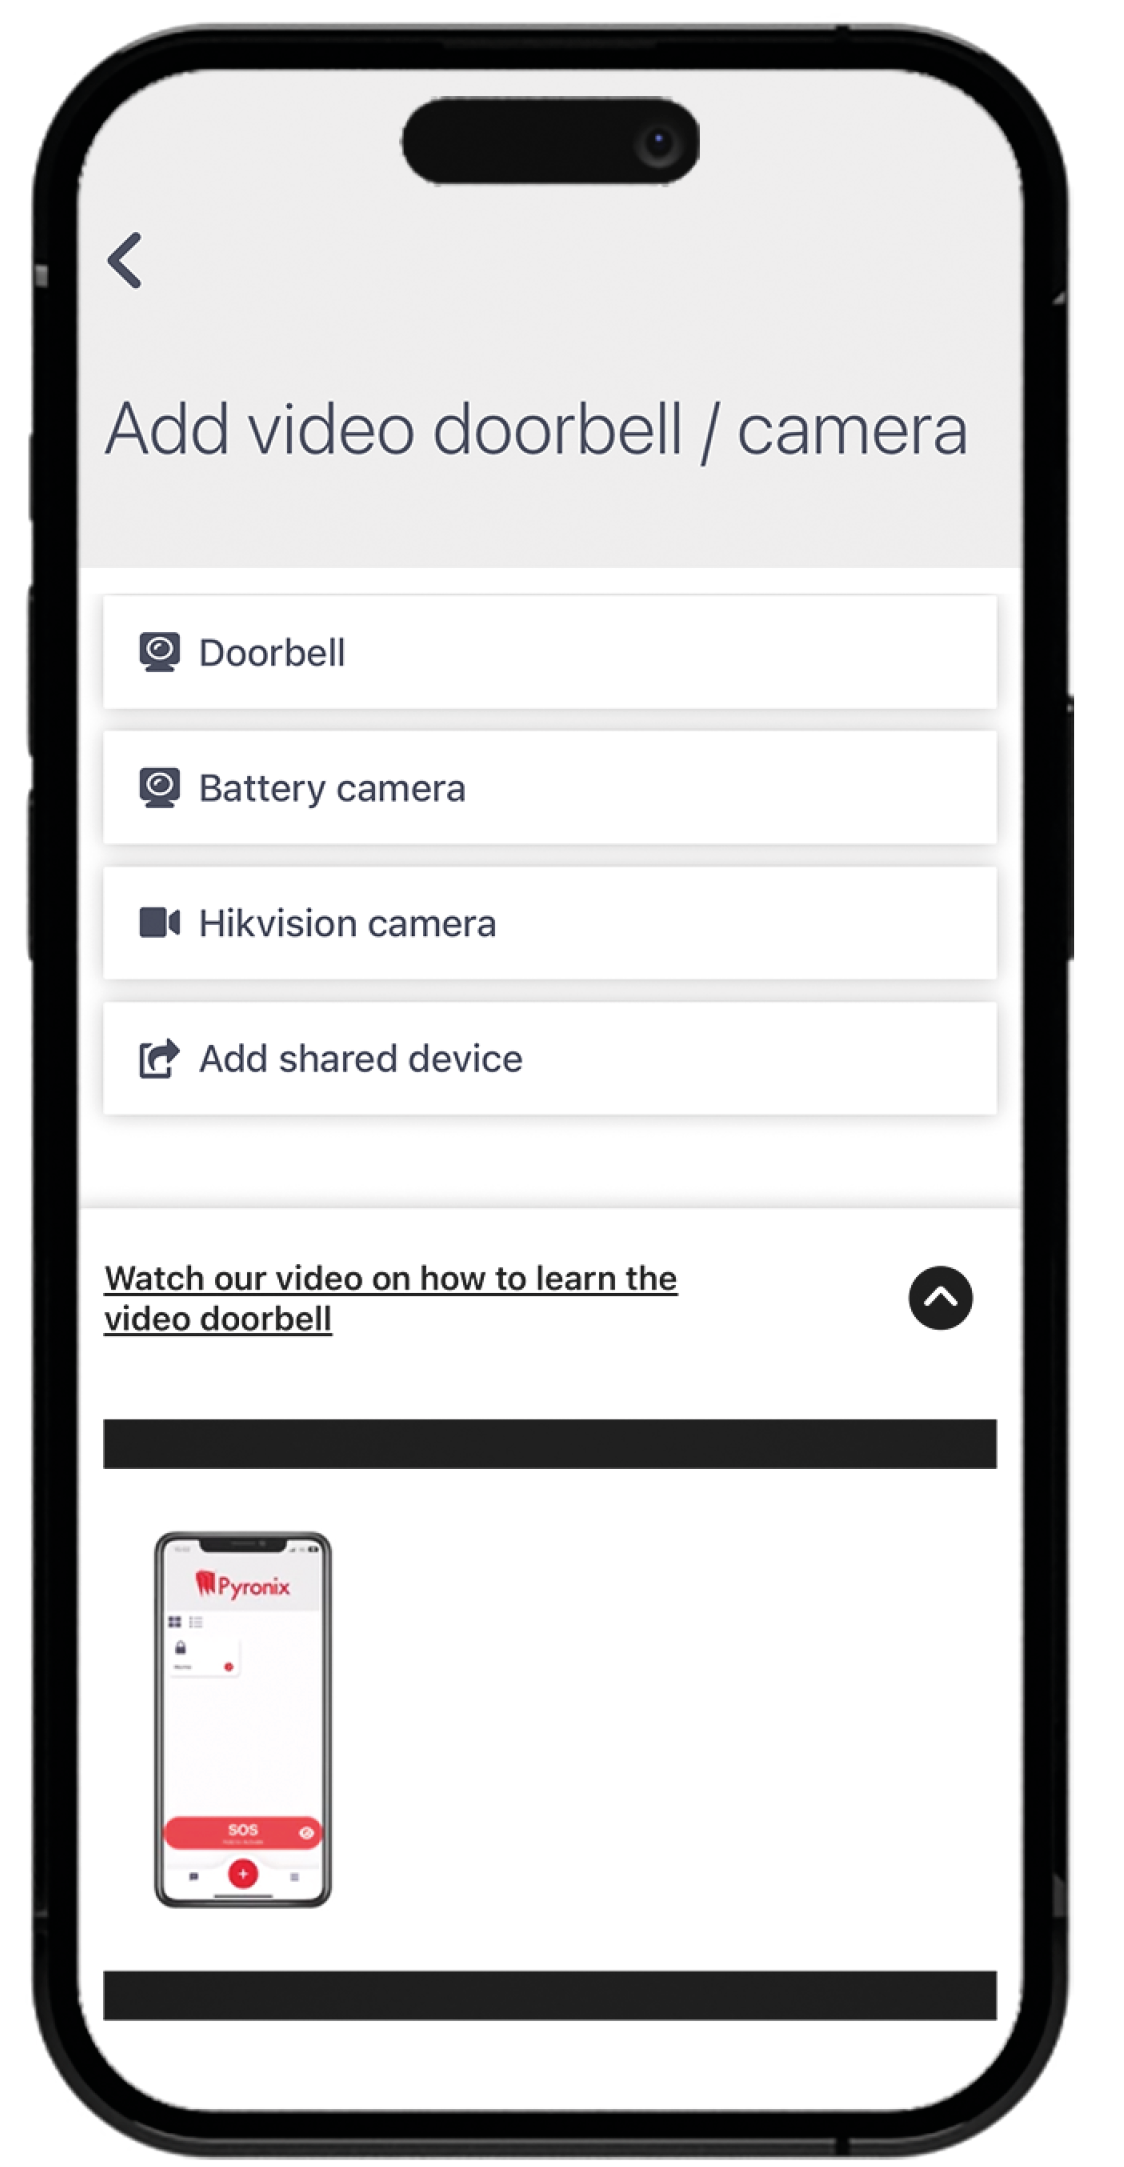
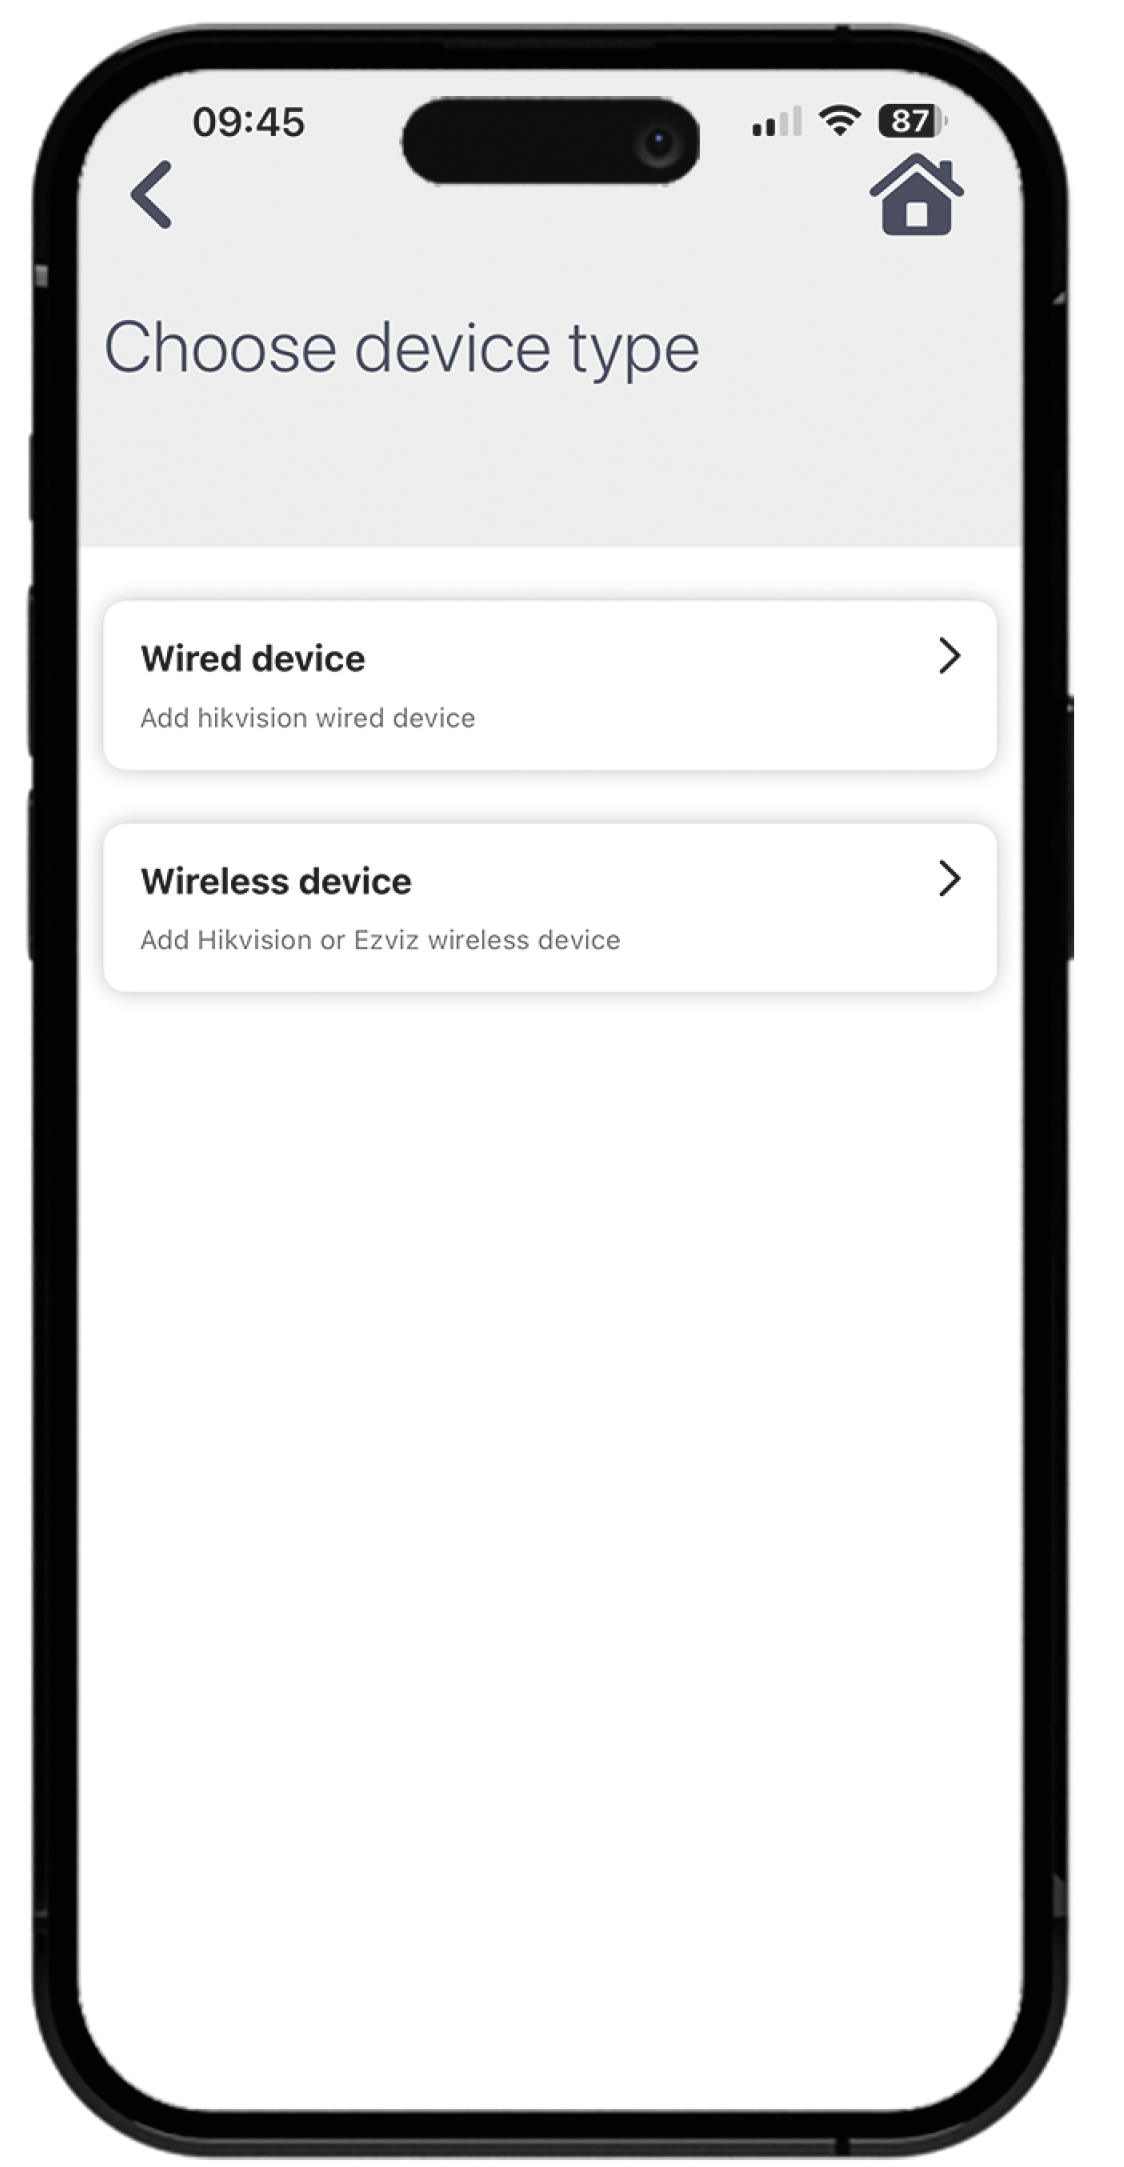
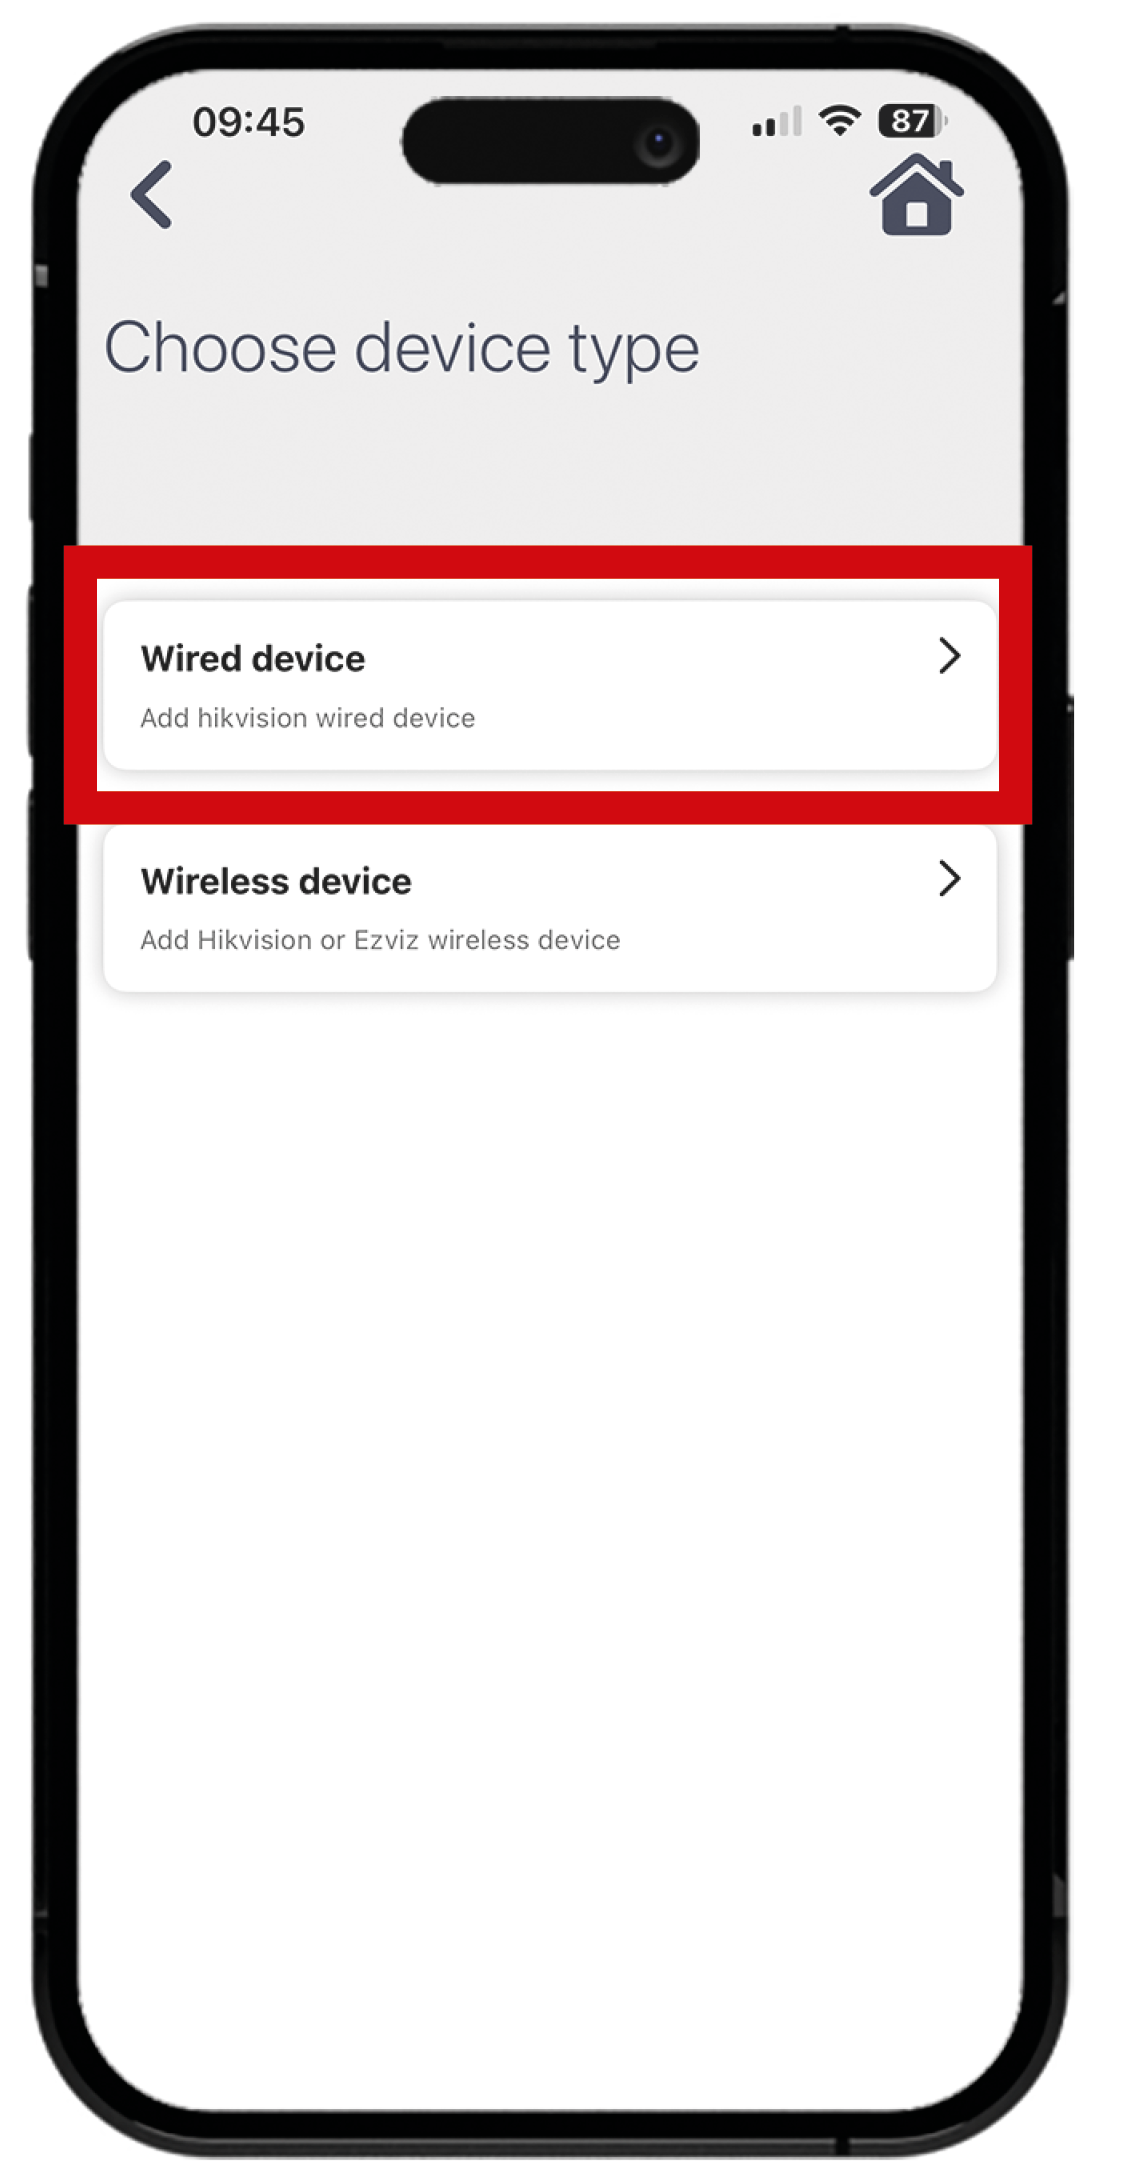
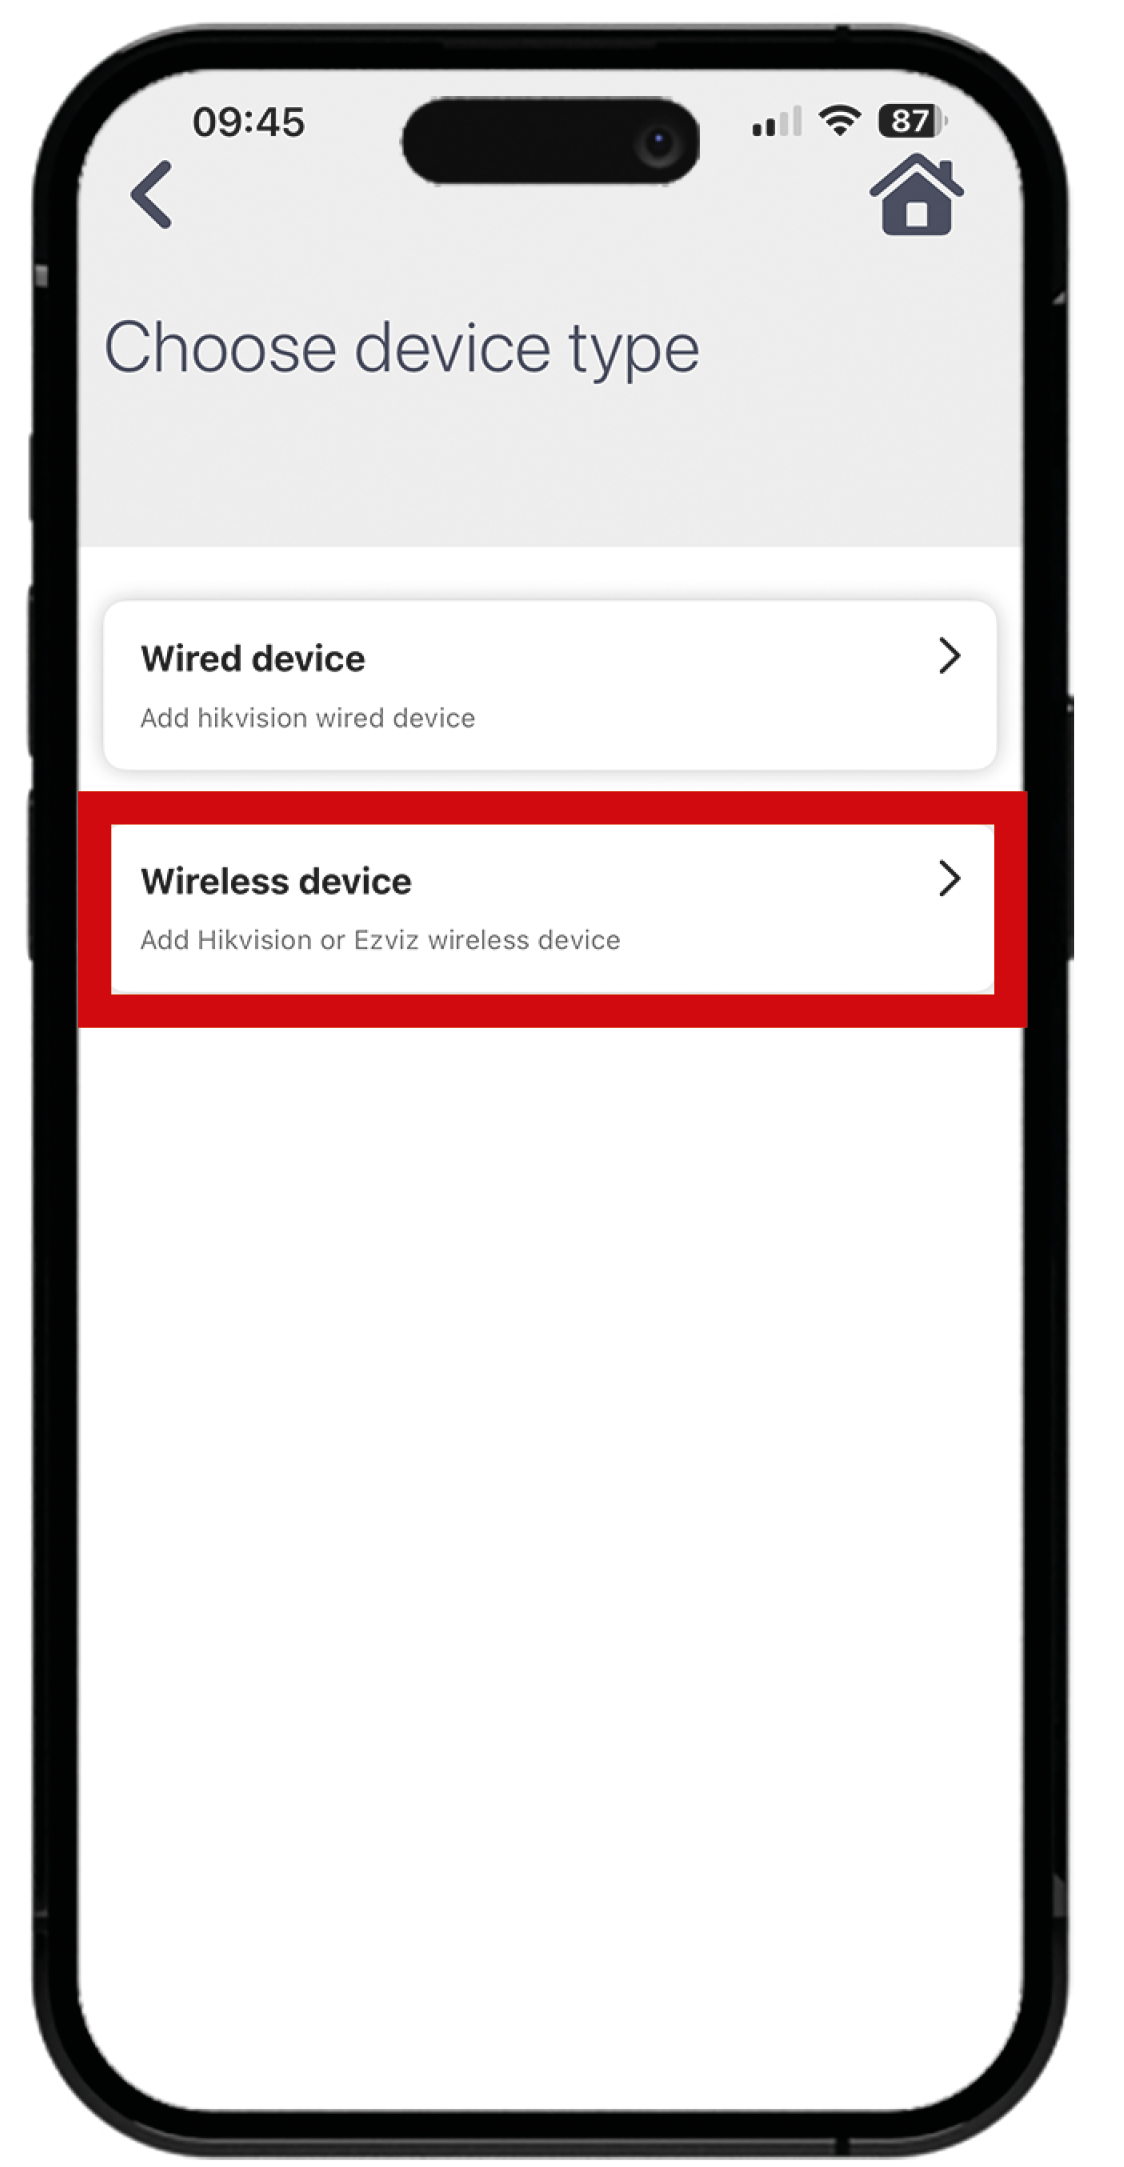
Hikvision camera compatibility.
The app can be downloaded from either the Apple App Store or on Android from the Google Play Store by searching ‘HomeControl’.
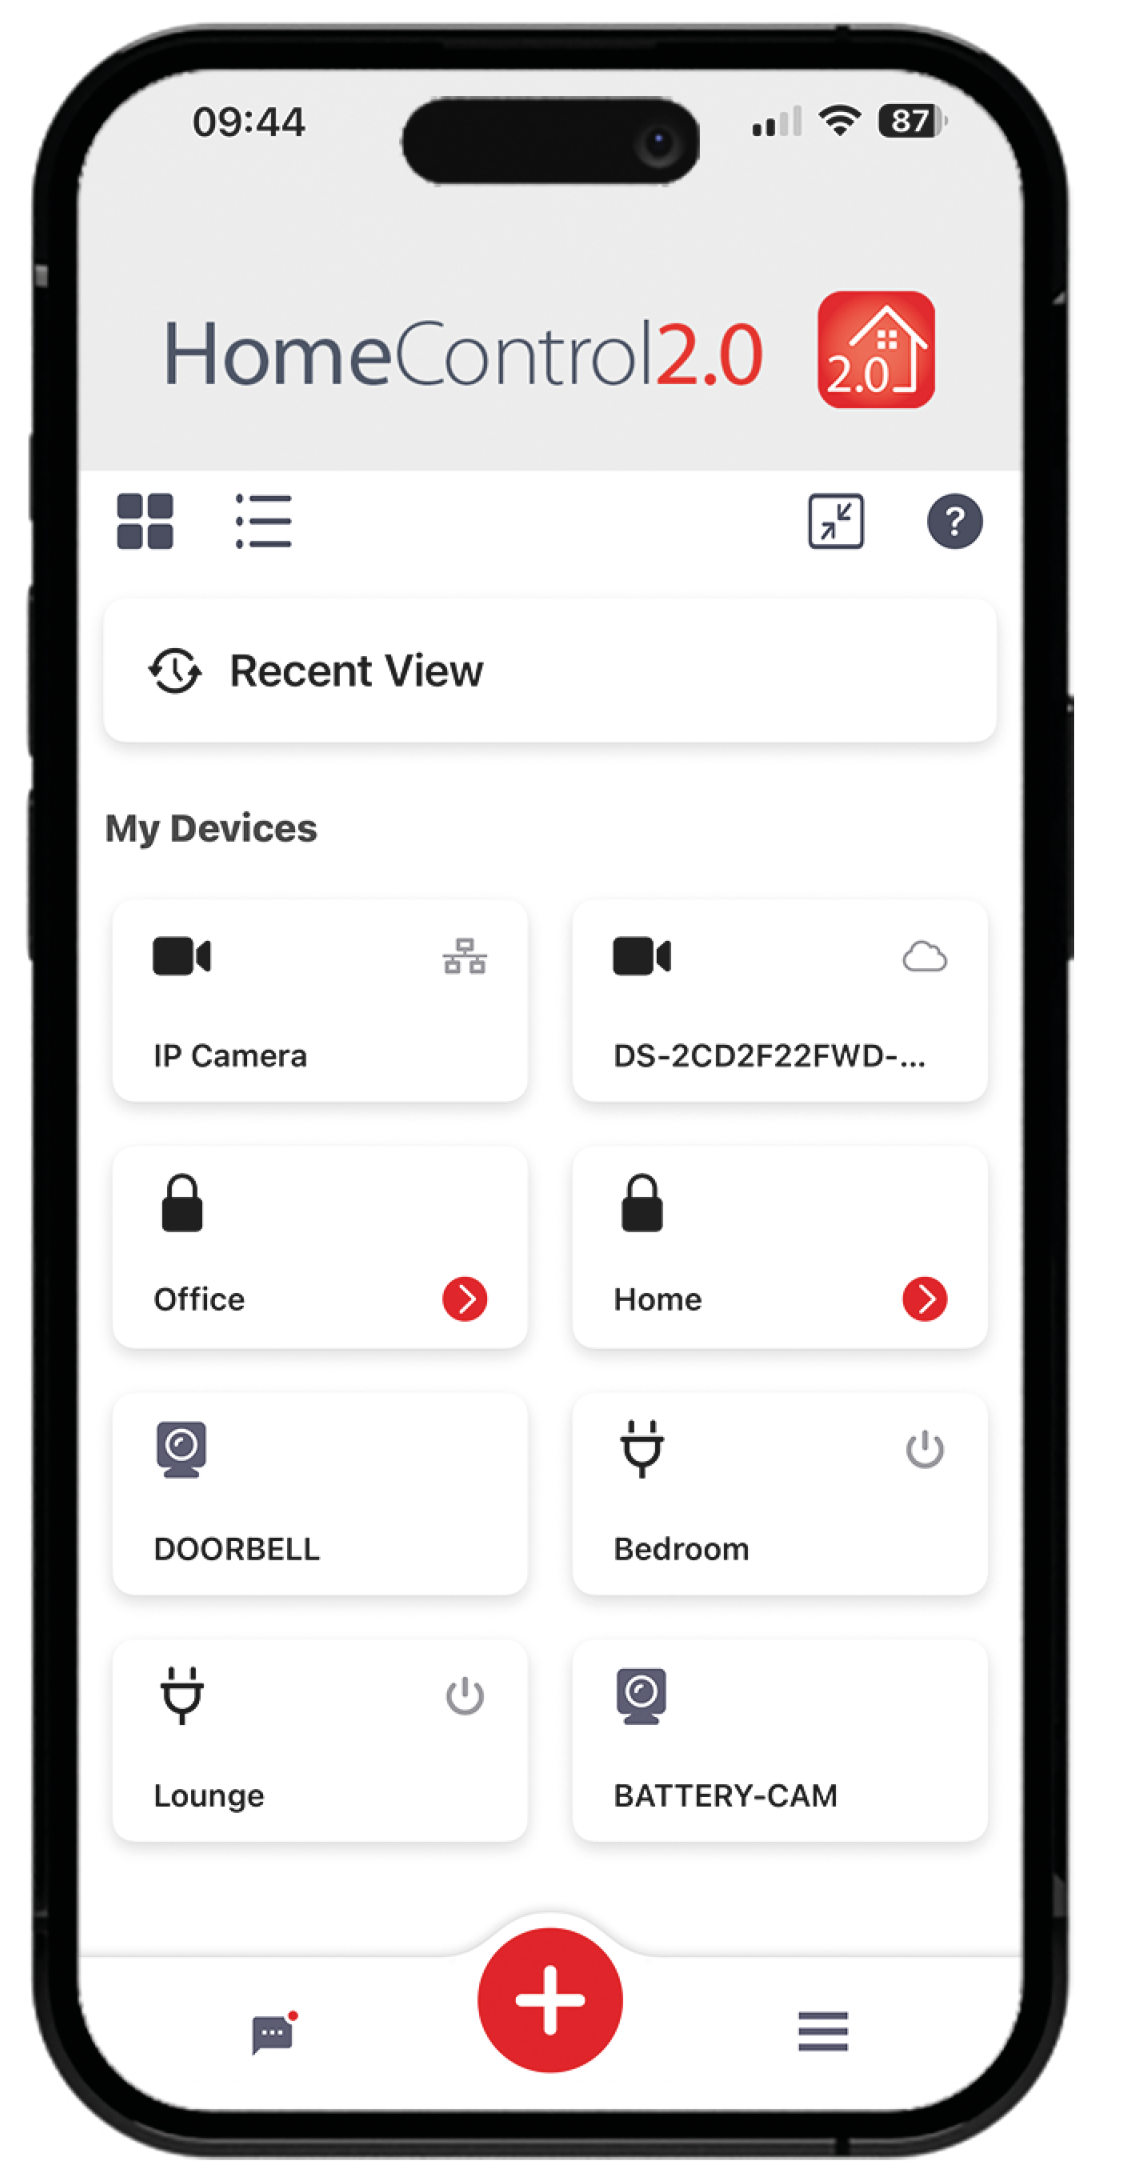
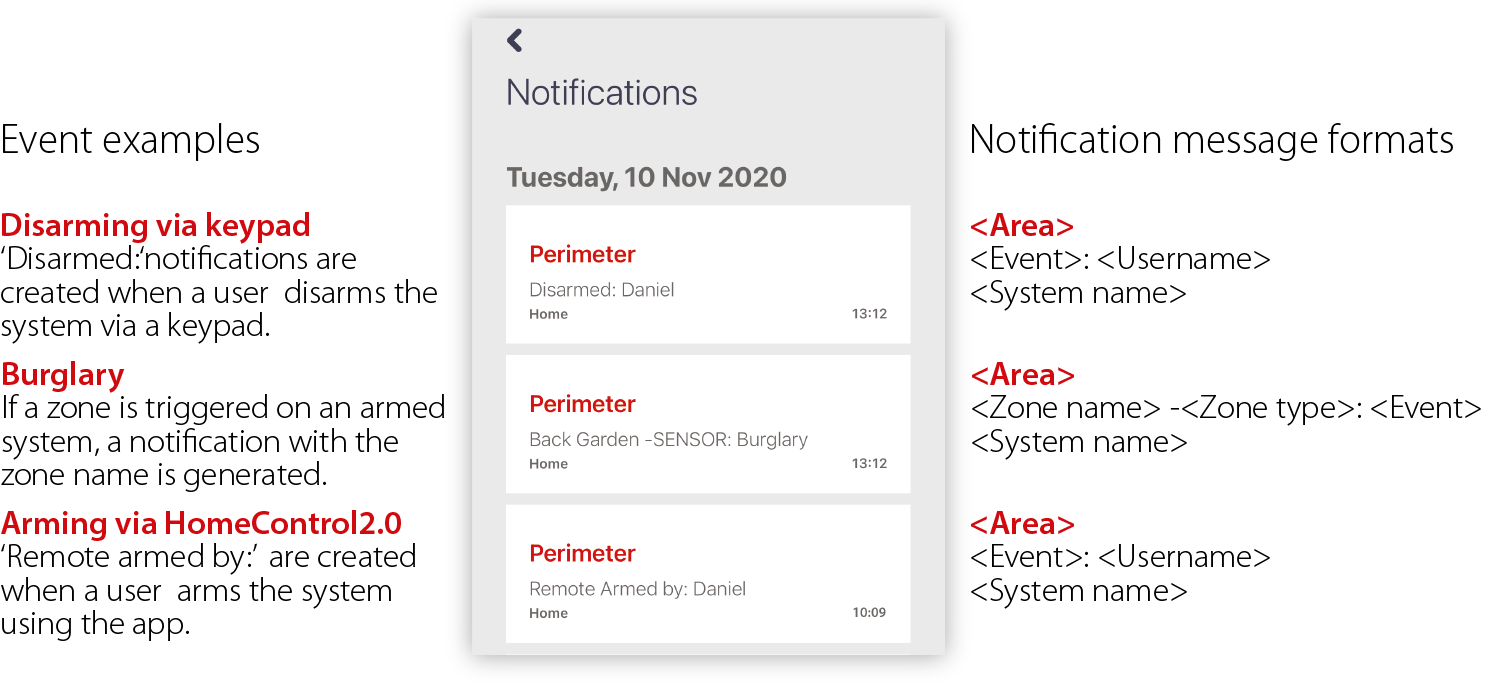
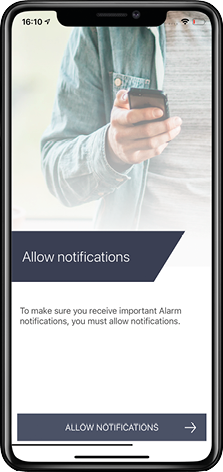
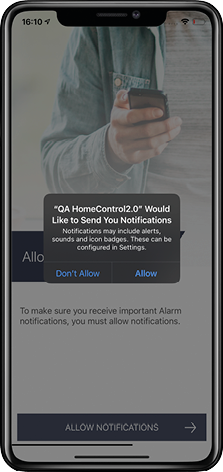
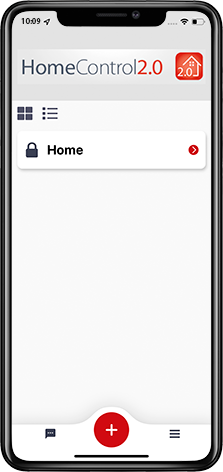
HomeControl2.0 has the ability to receive audible voice push notifications directly to your device; letting you know exactly what’s happening so that appropriate action can be taken. The last 50 push notifications received are saved on the app to view from the main screen.
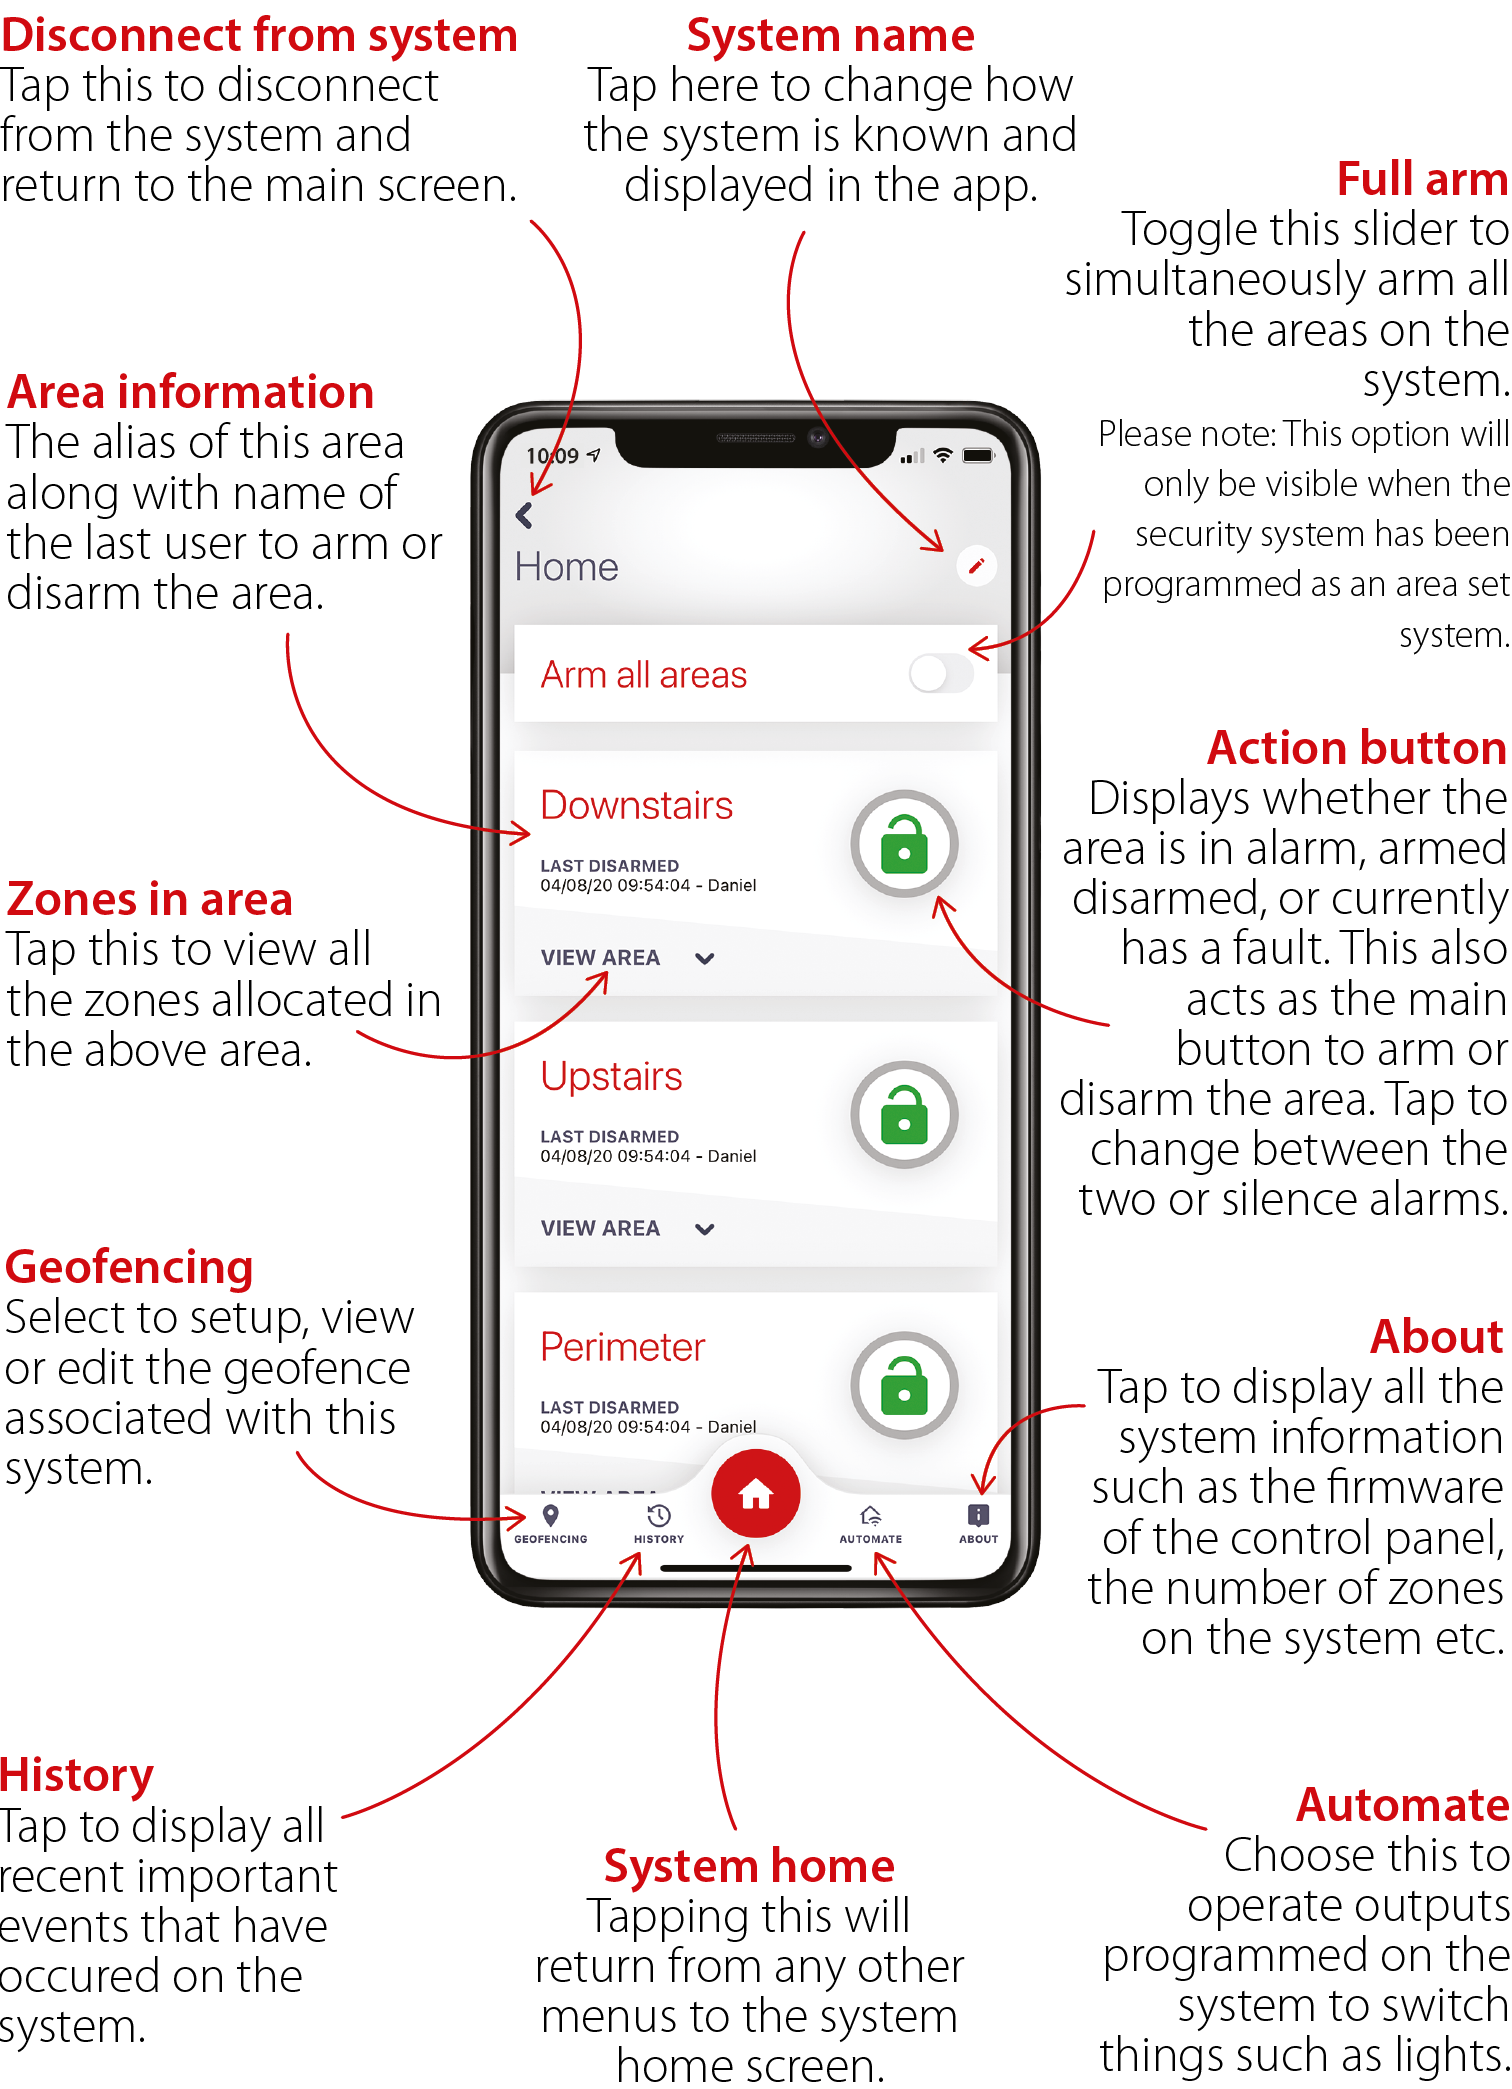
Please note: Whilst you are connected to the panel via HomeControl2.0, you will not receive notifications. To disconnect, press ![]() in the top left corner of the system controls screen.
in the top left corner of the system controls screen.
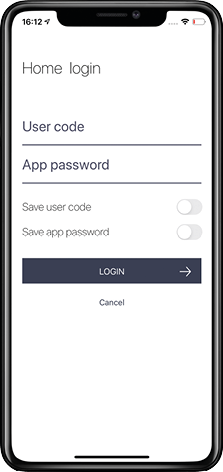
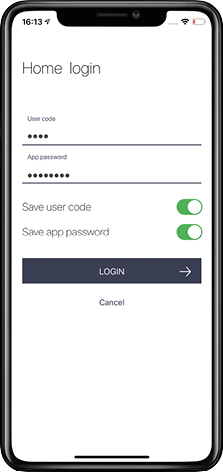
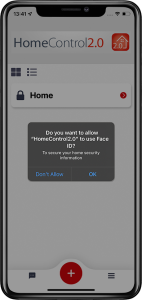 Logging into the system has never been easier or simpler with biometric login (facial recognition/fingerprint). With HomeControl2.0 there’s no need to enter the user code every time you connect to a system.
The next time the system is selected from the main screen, HomeControl2.0 will ask whether the user would like to enable facial or fingerprint recognition; depending on the smart device capabilities.
* If the zones are not programmed so that they can be bypassed, this icon will not be visible. Please speak to he installation company for more information.
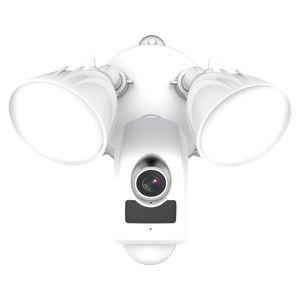
Please note: Both the owner and recipient of the doorbell must have a PyronixCloud account.
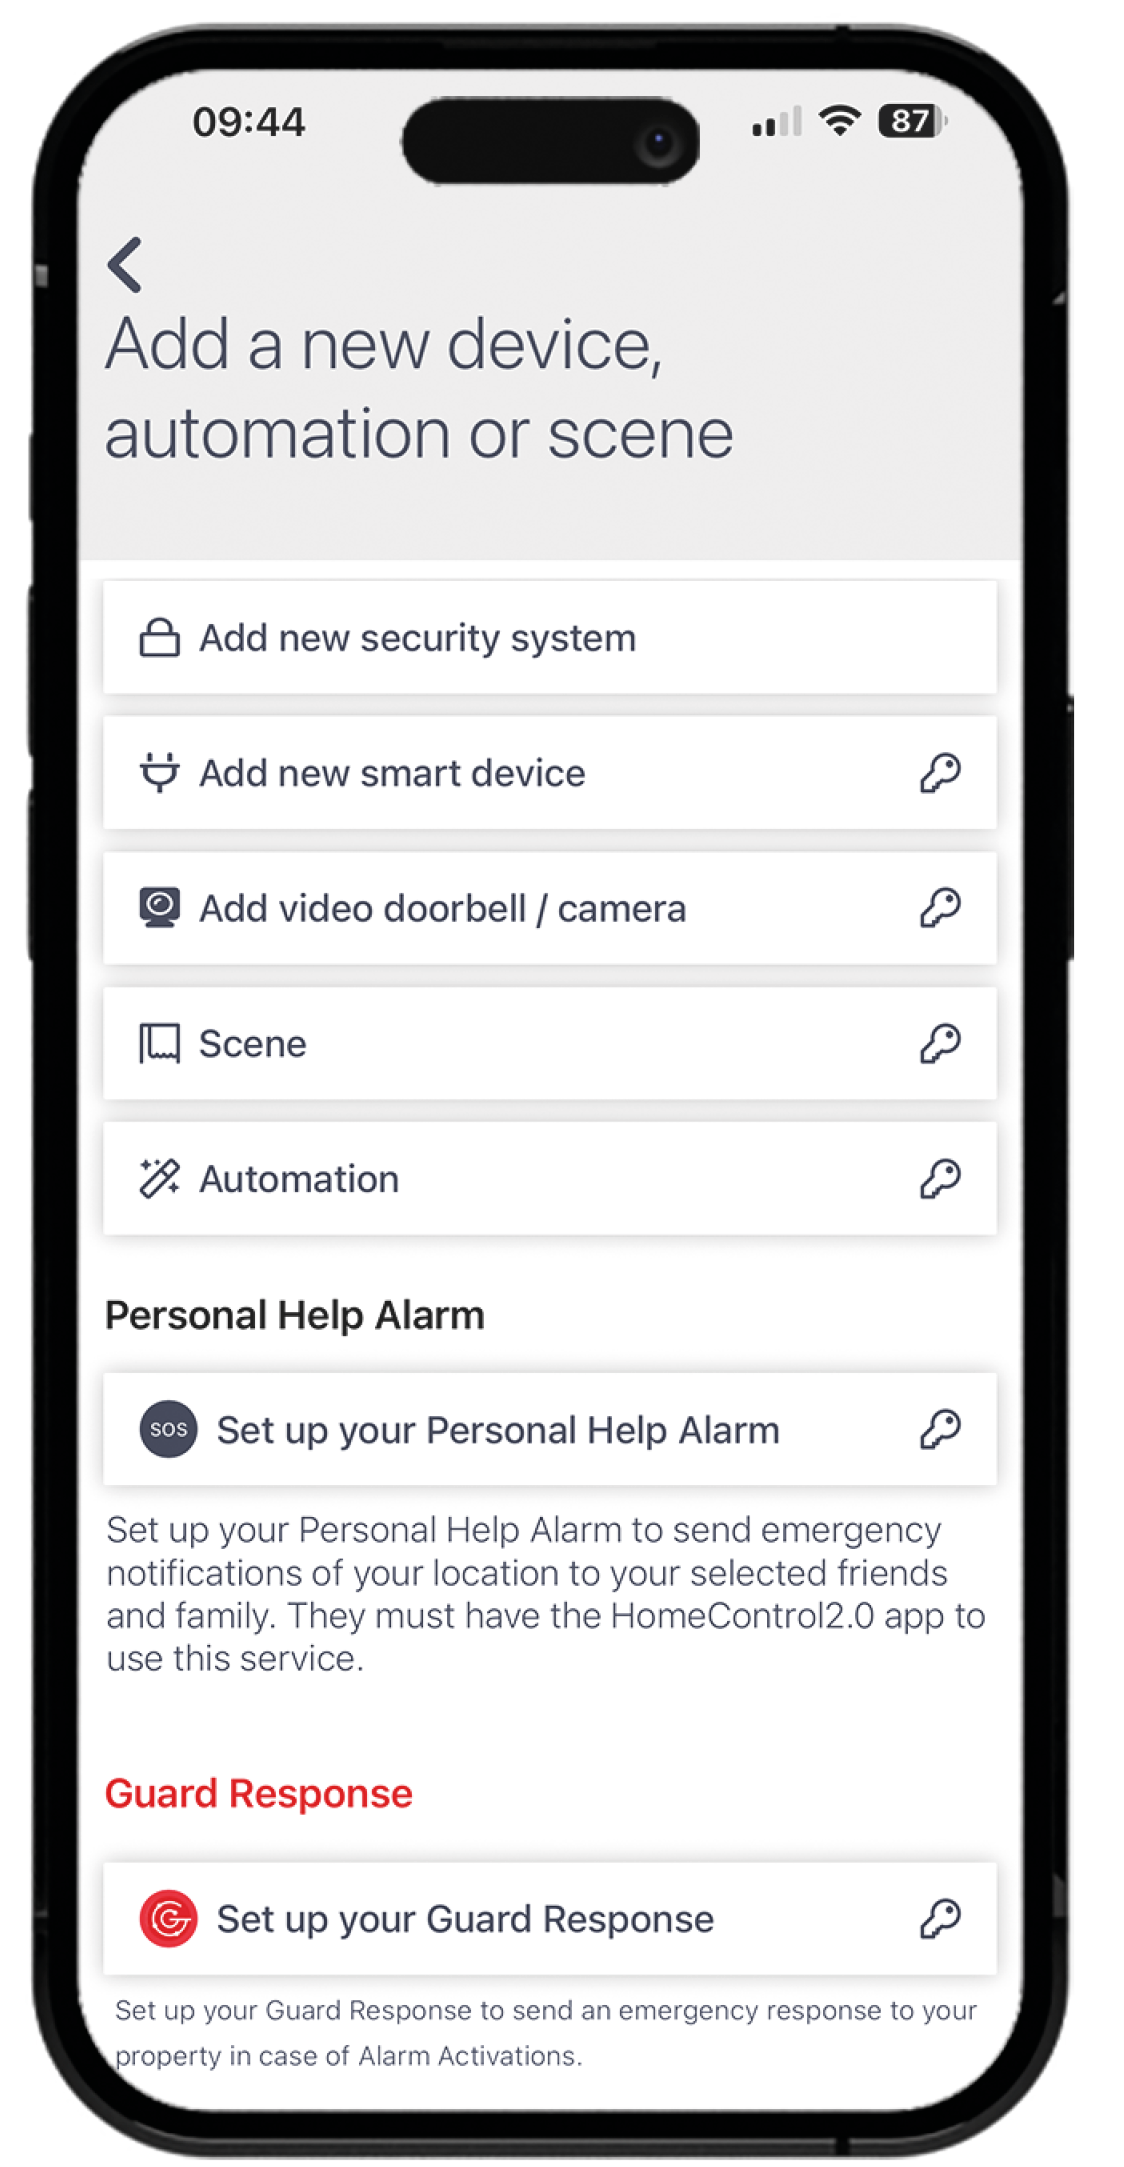
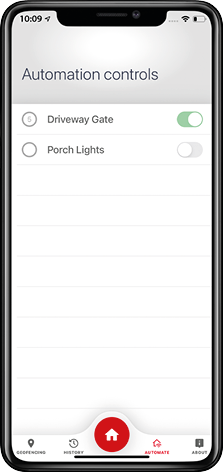
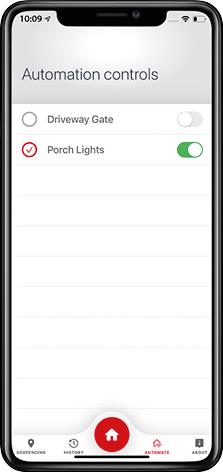
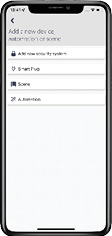
Scenes are a sequence of tasks that is manually triggered by the user to begin. They can include a single or multiple smart devices and delays between the actions of the smart devices if necessary. Once triggered by the user, the scene will start at the first task and move onto the next (in the order the scene is programmed) until the scene is complete.
An automation is a pre-programmed event that will operate without the need to be triggered by the end user.
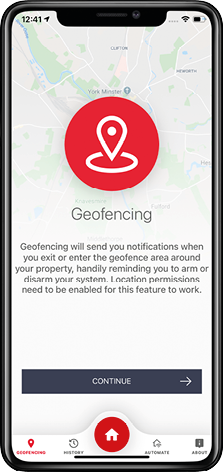
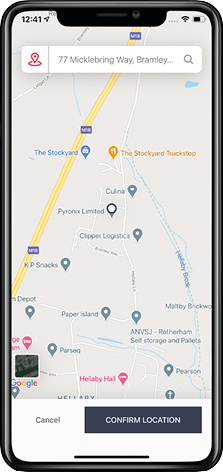
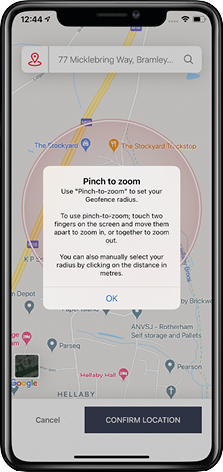
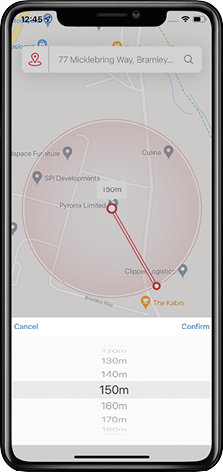
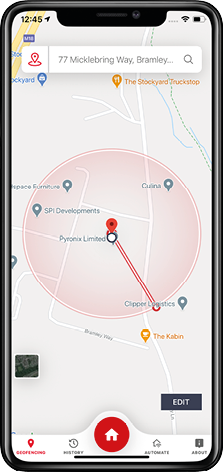
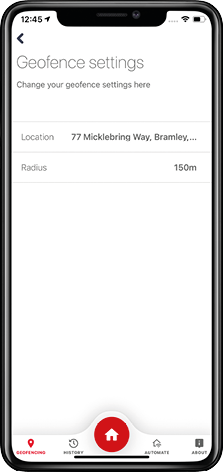
Configurable to a distance of 100m to 1000m of the property, the user will receive a push notification reminder via HomeControl2.0 to arm and/or disarm their system as they enter or exit the configured Geofence area respectively.
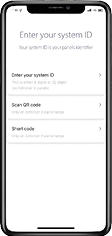
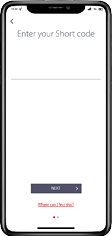
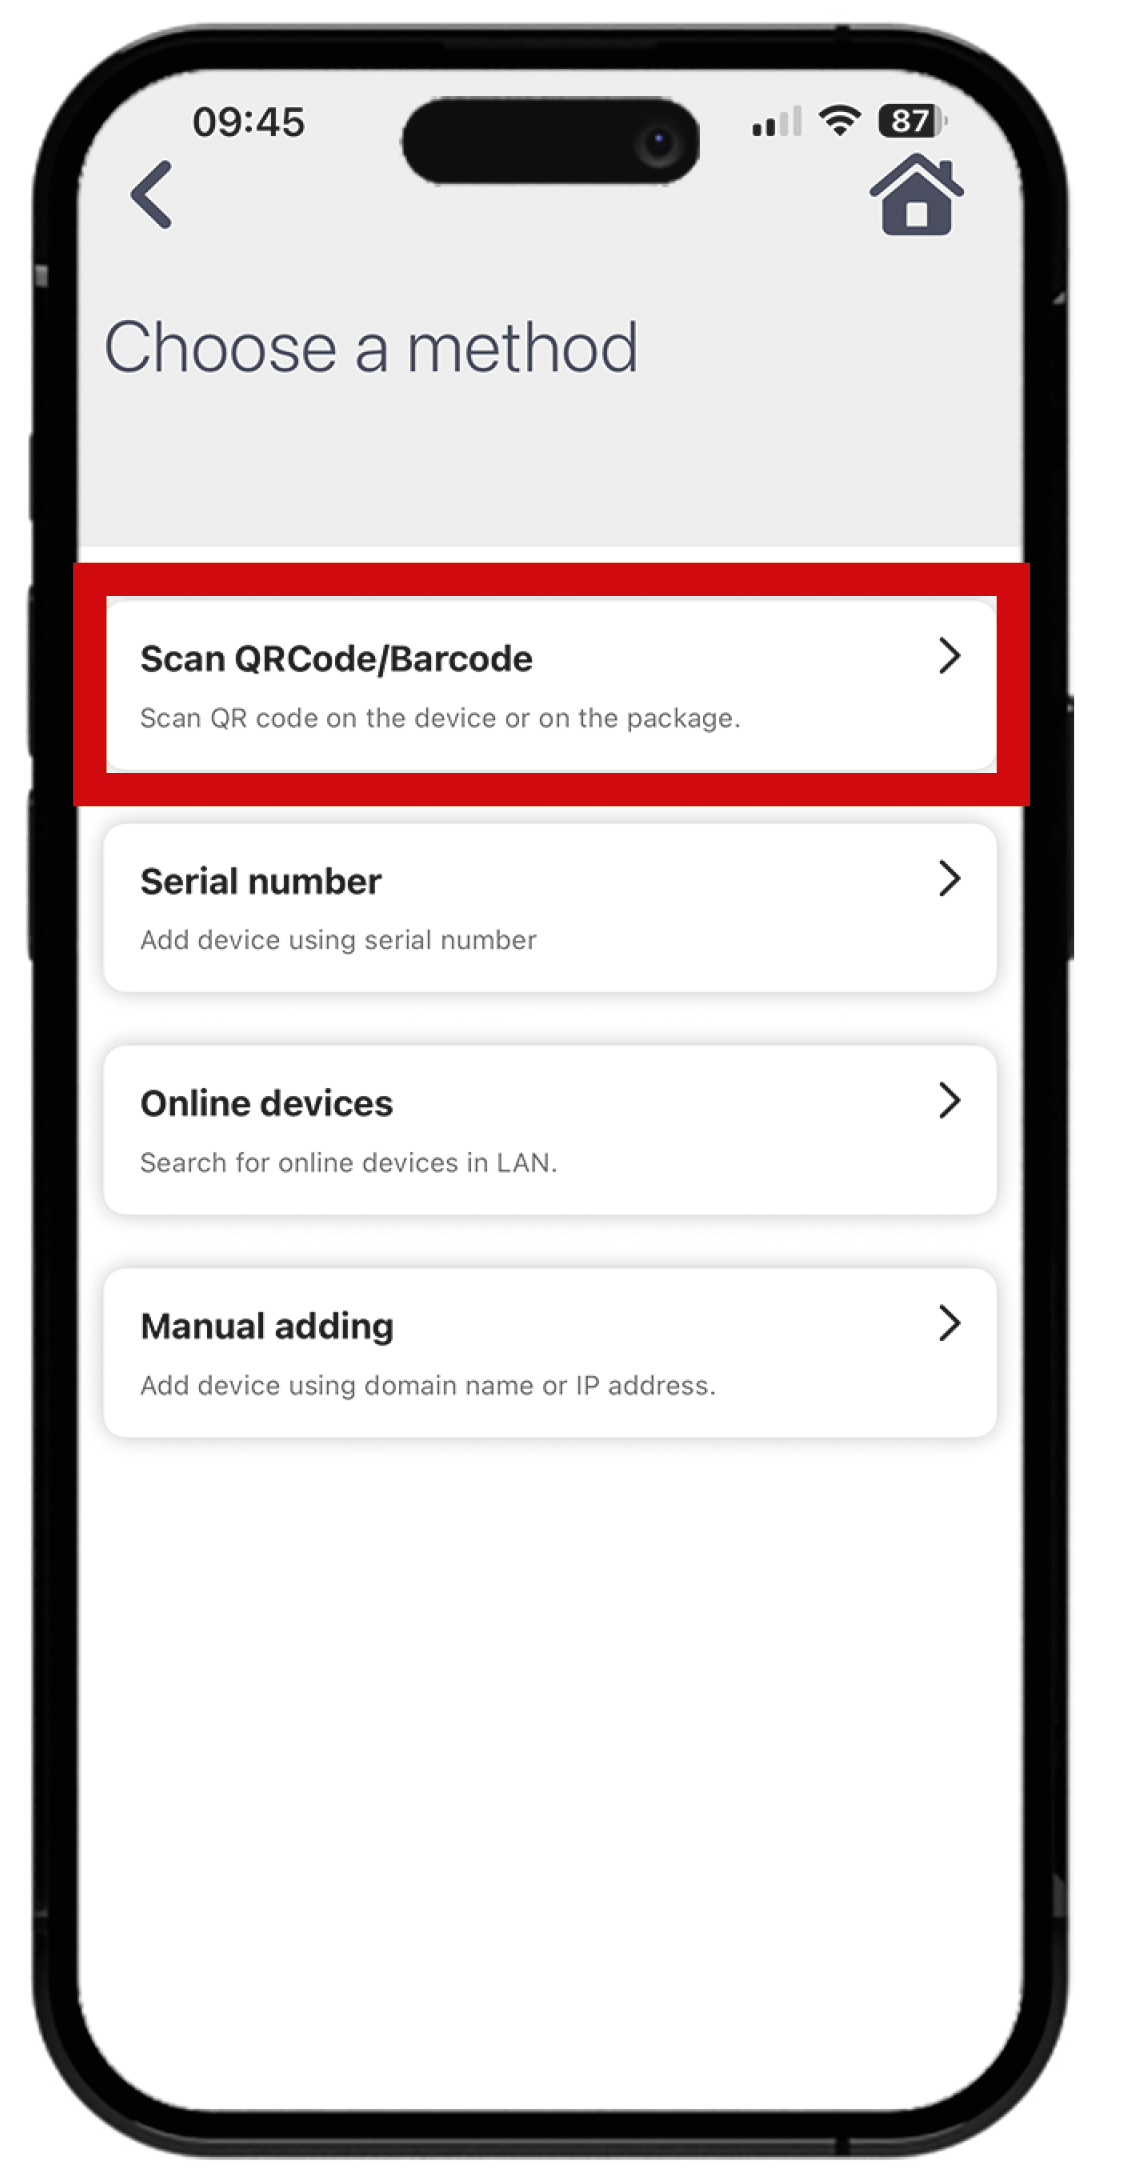
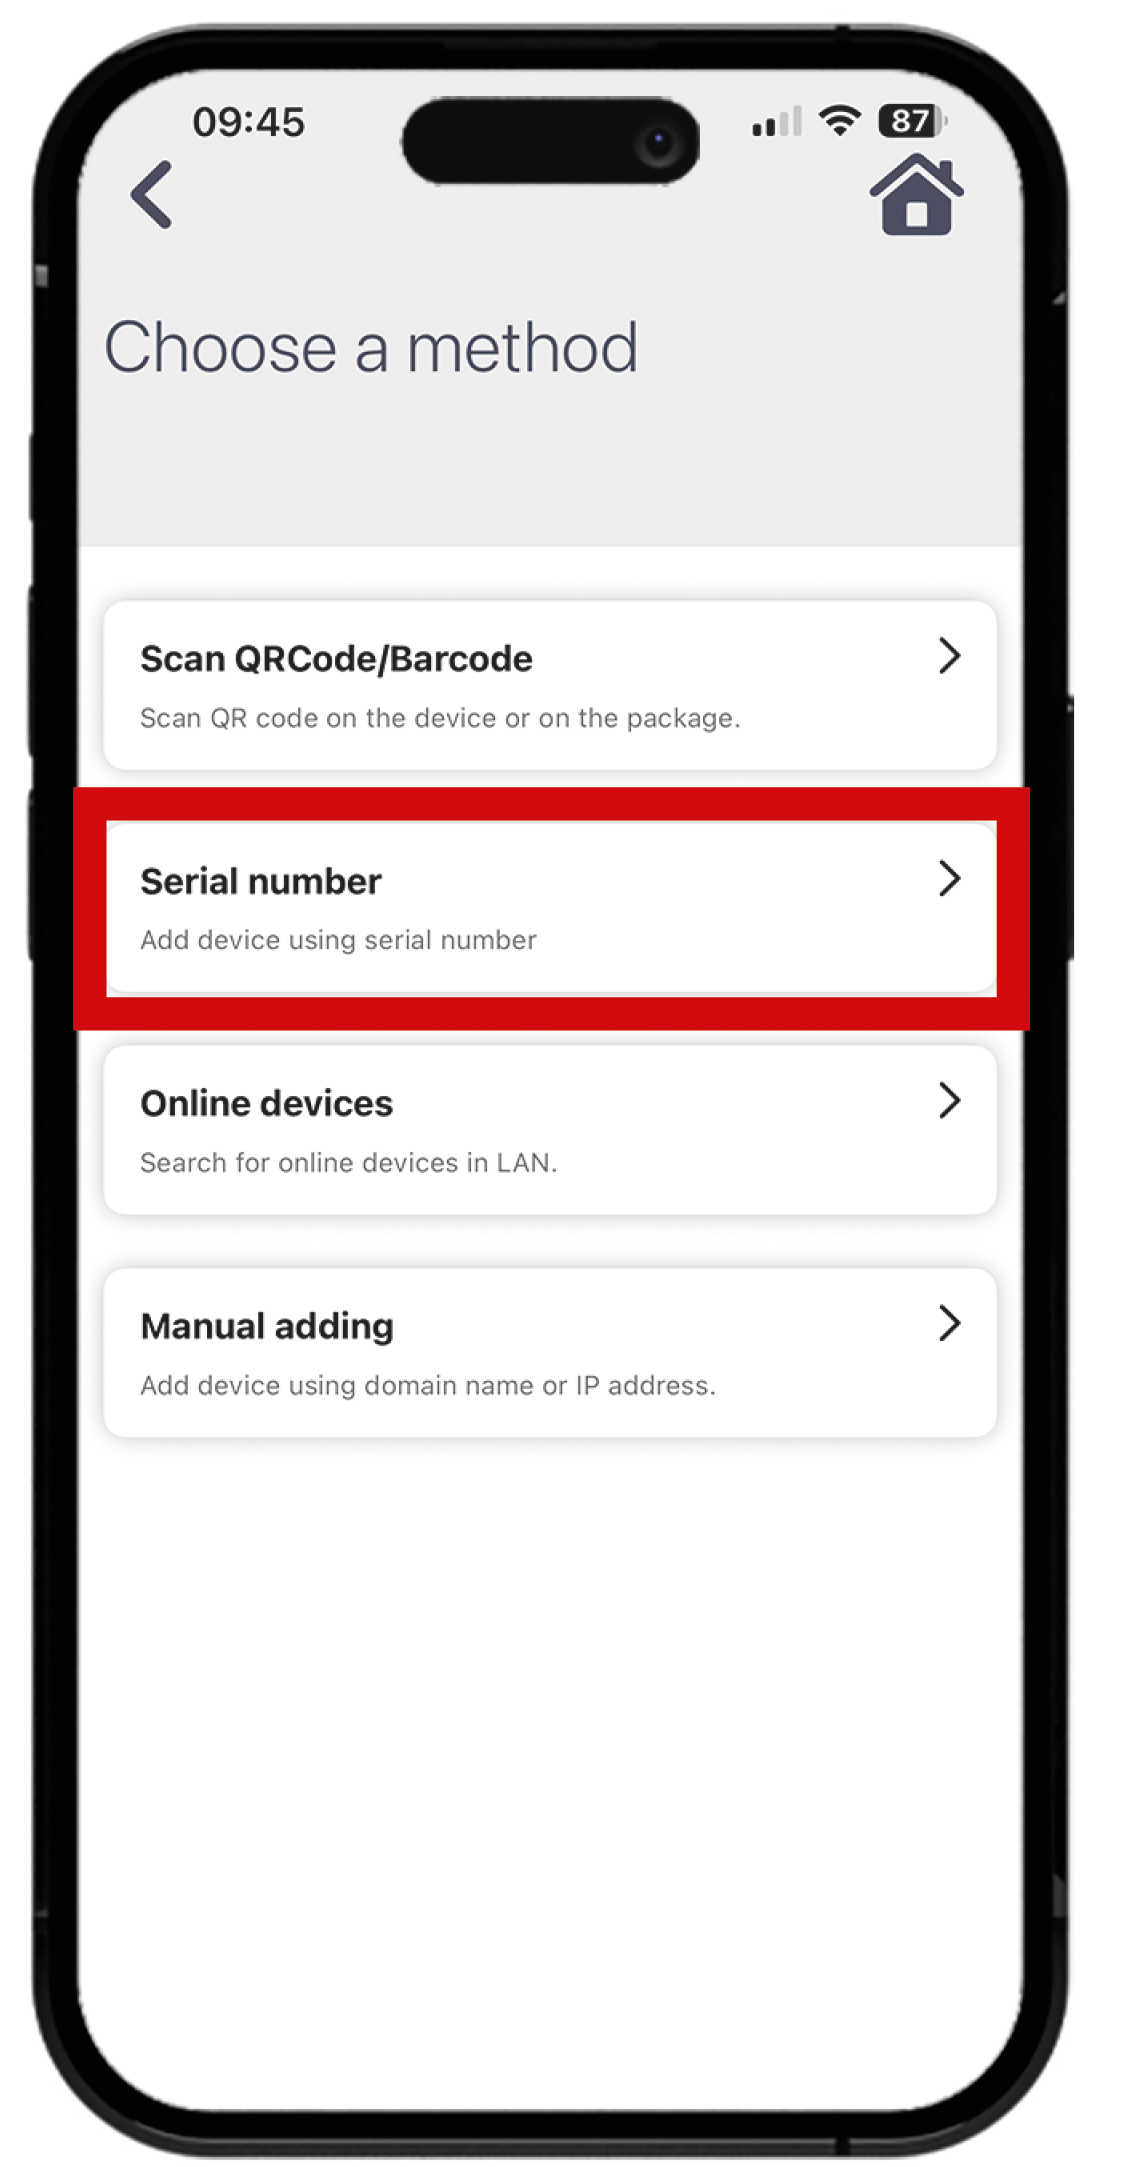
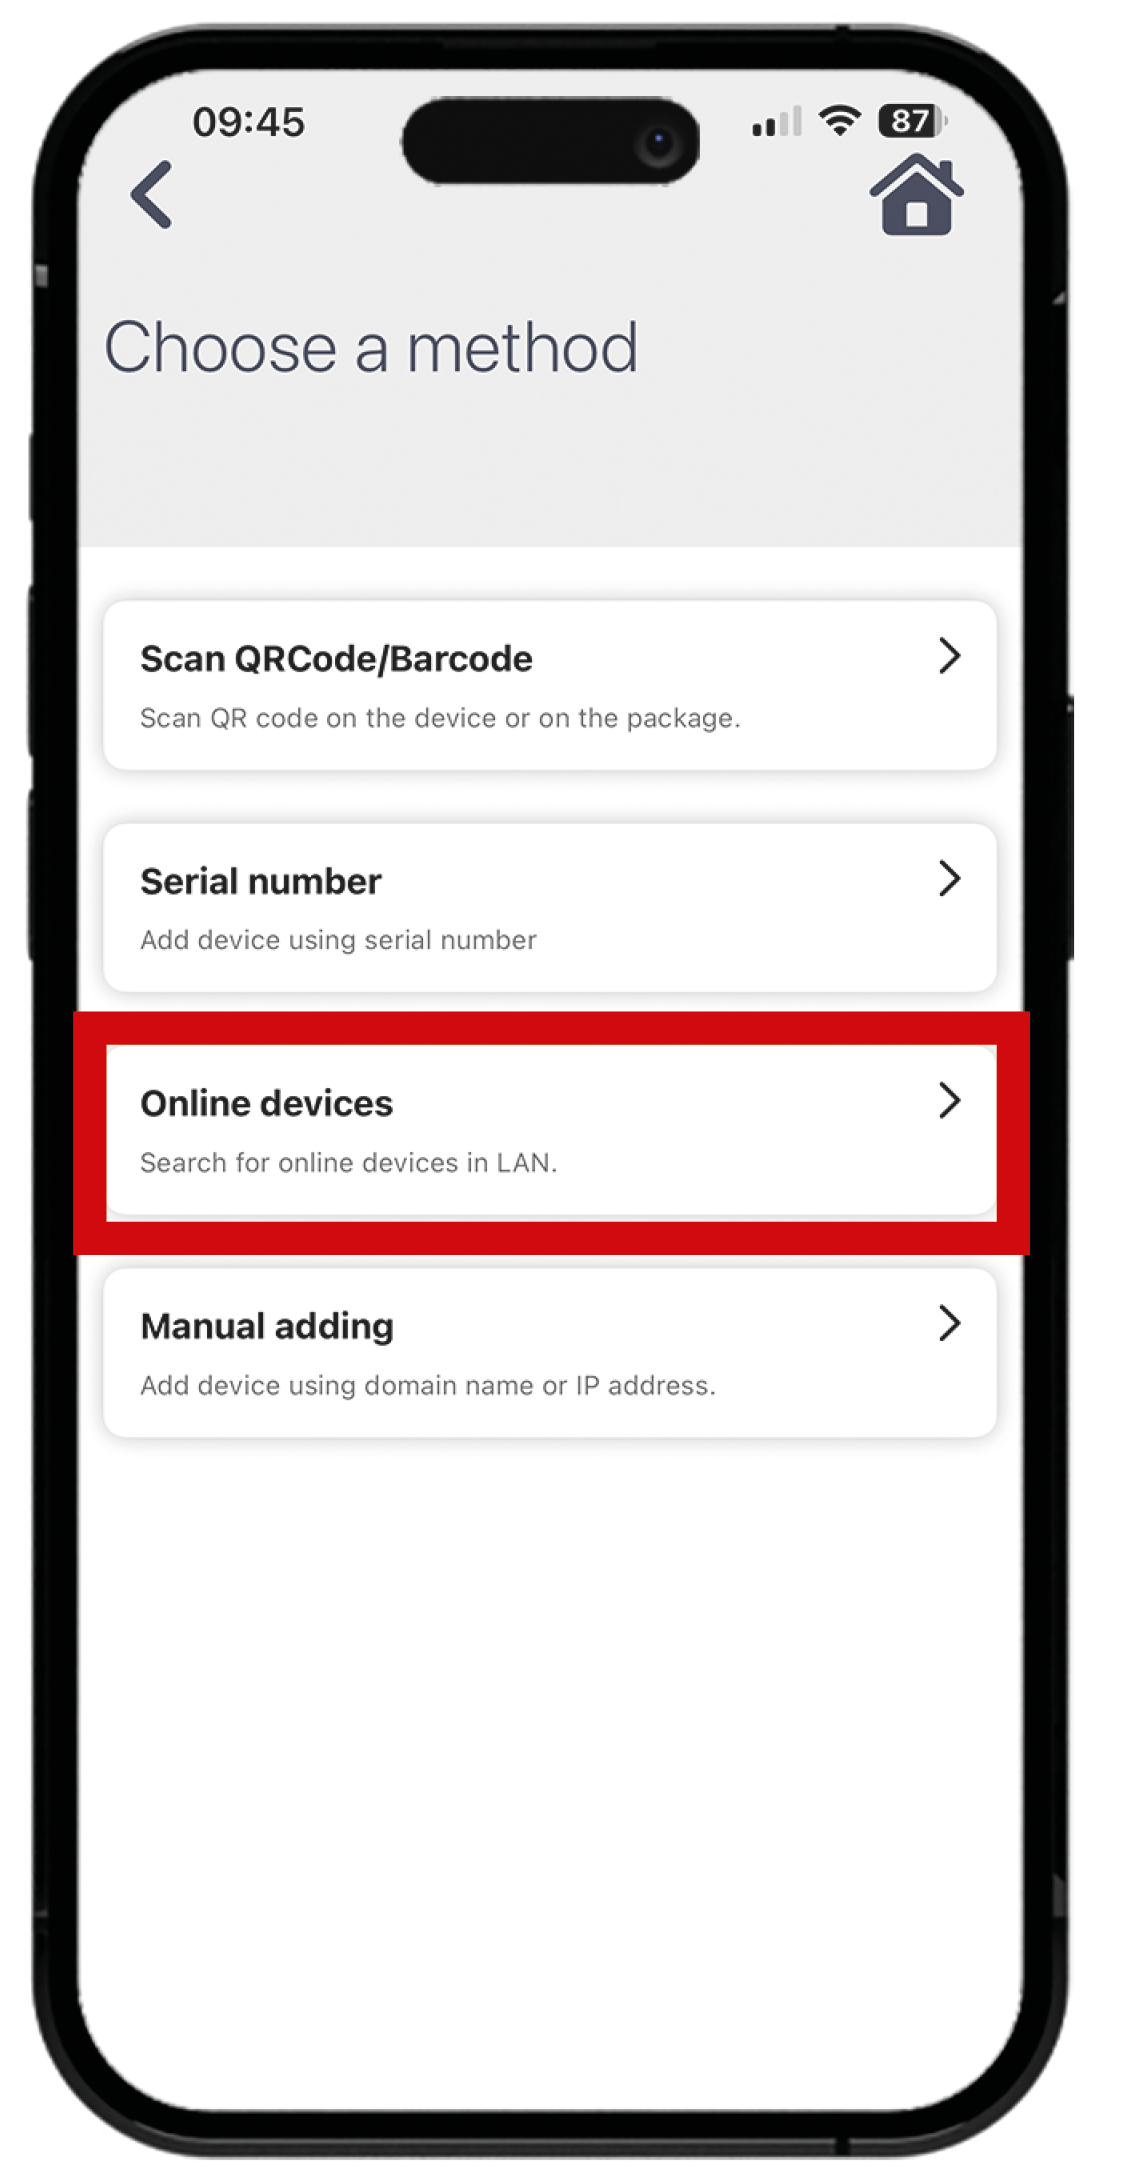
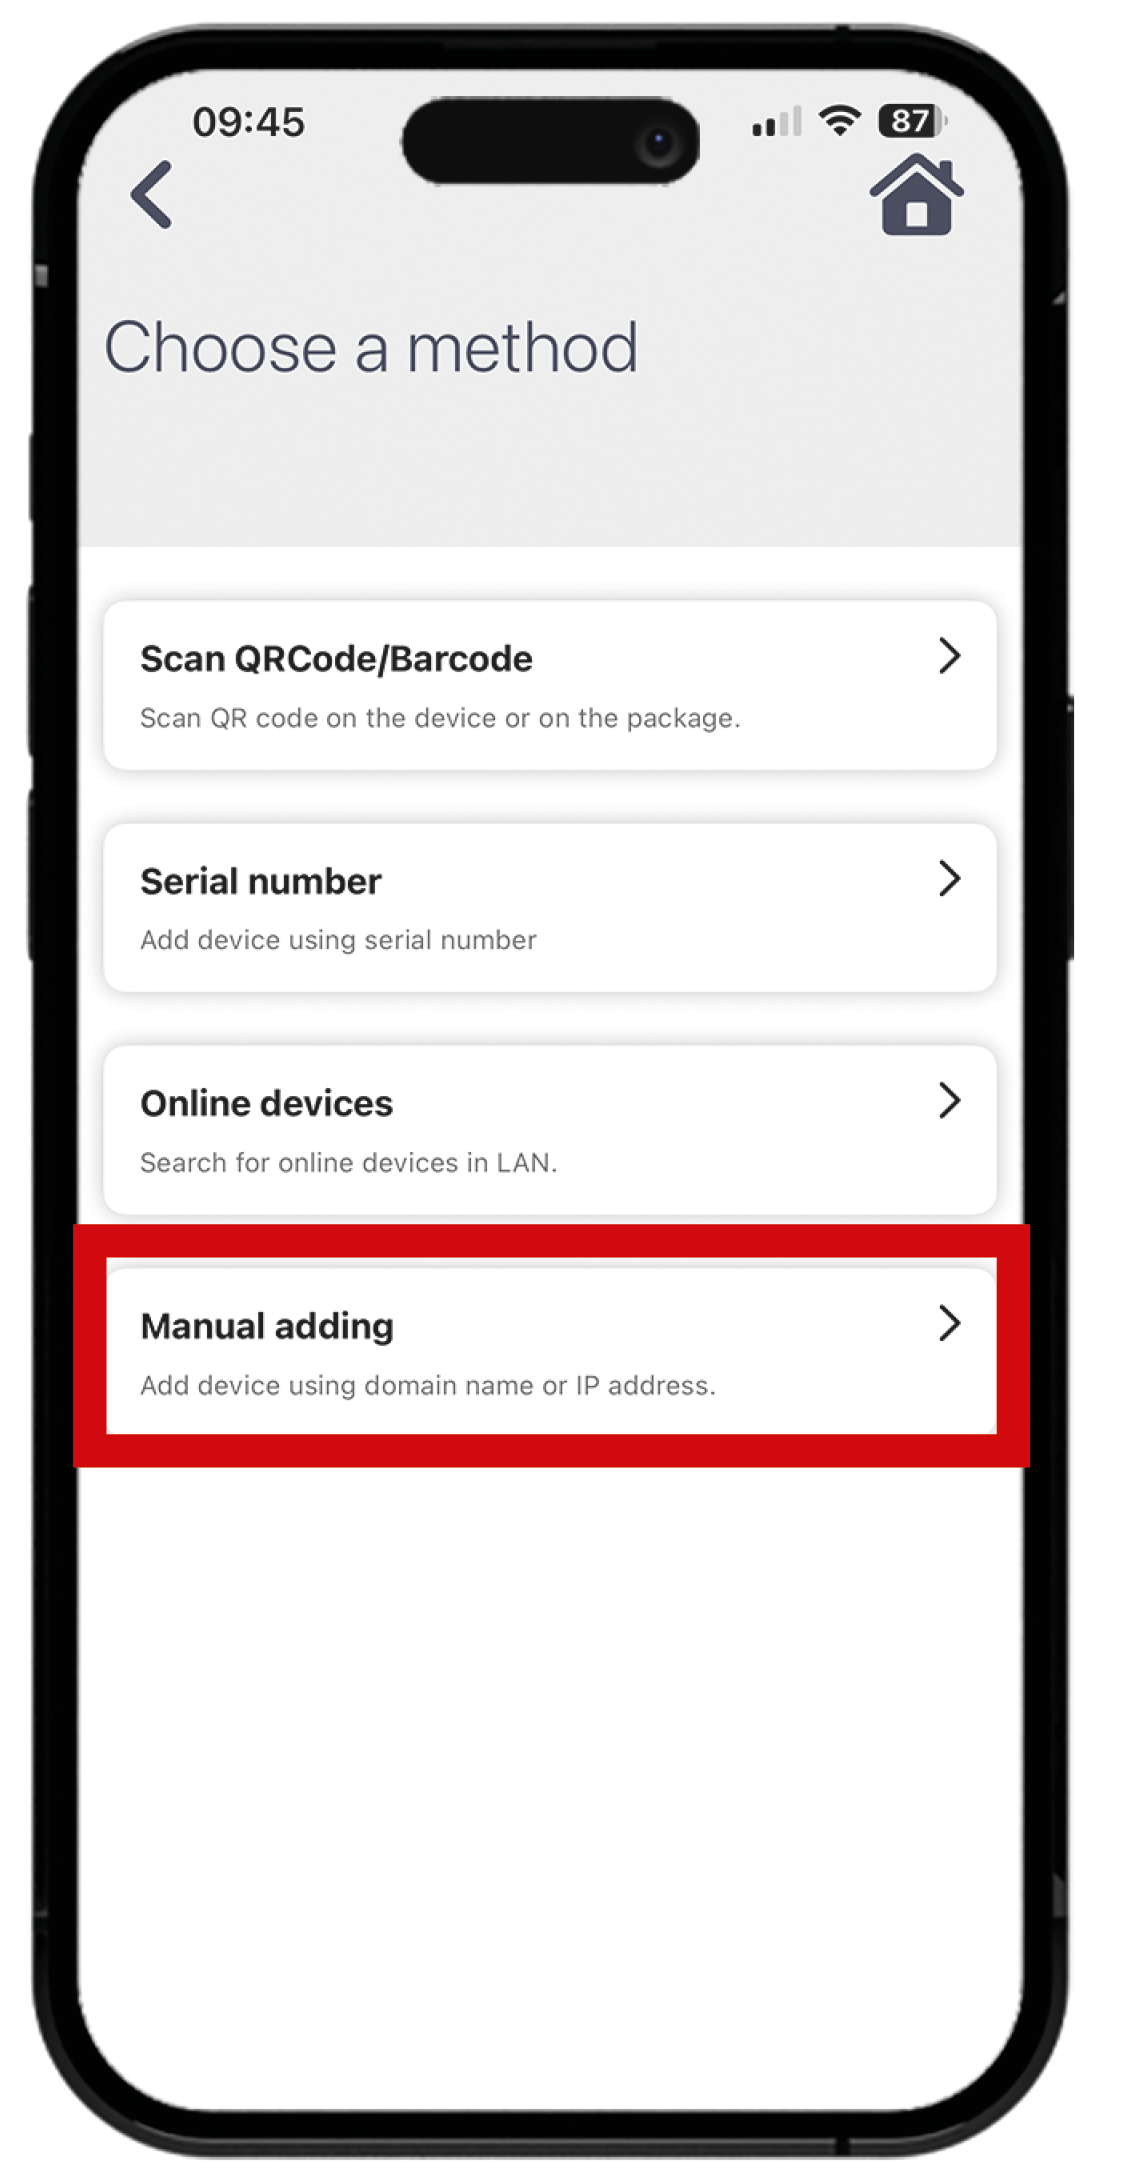
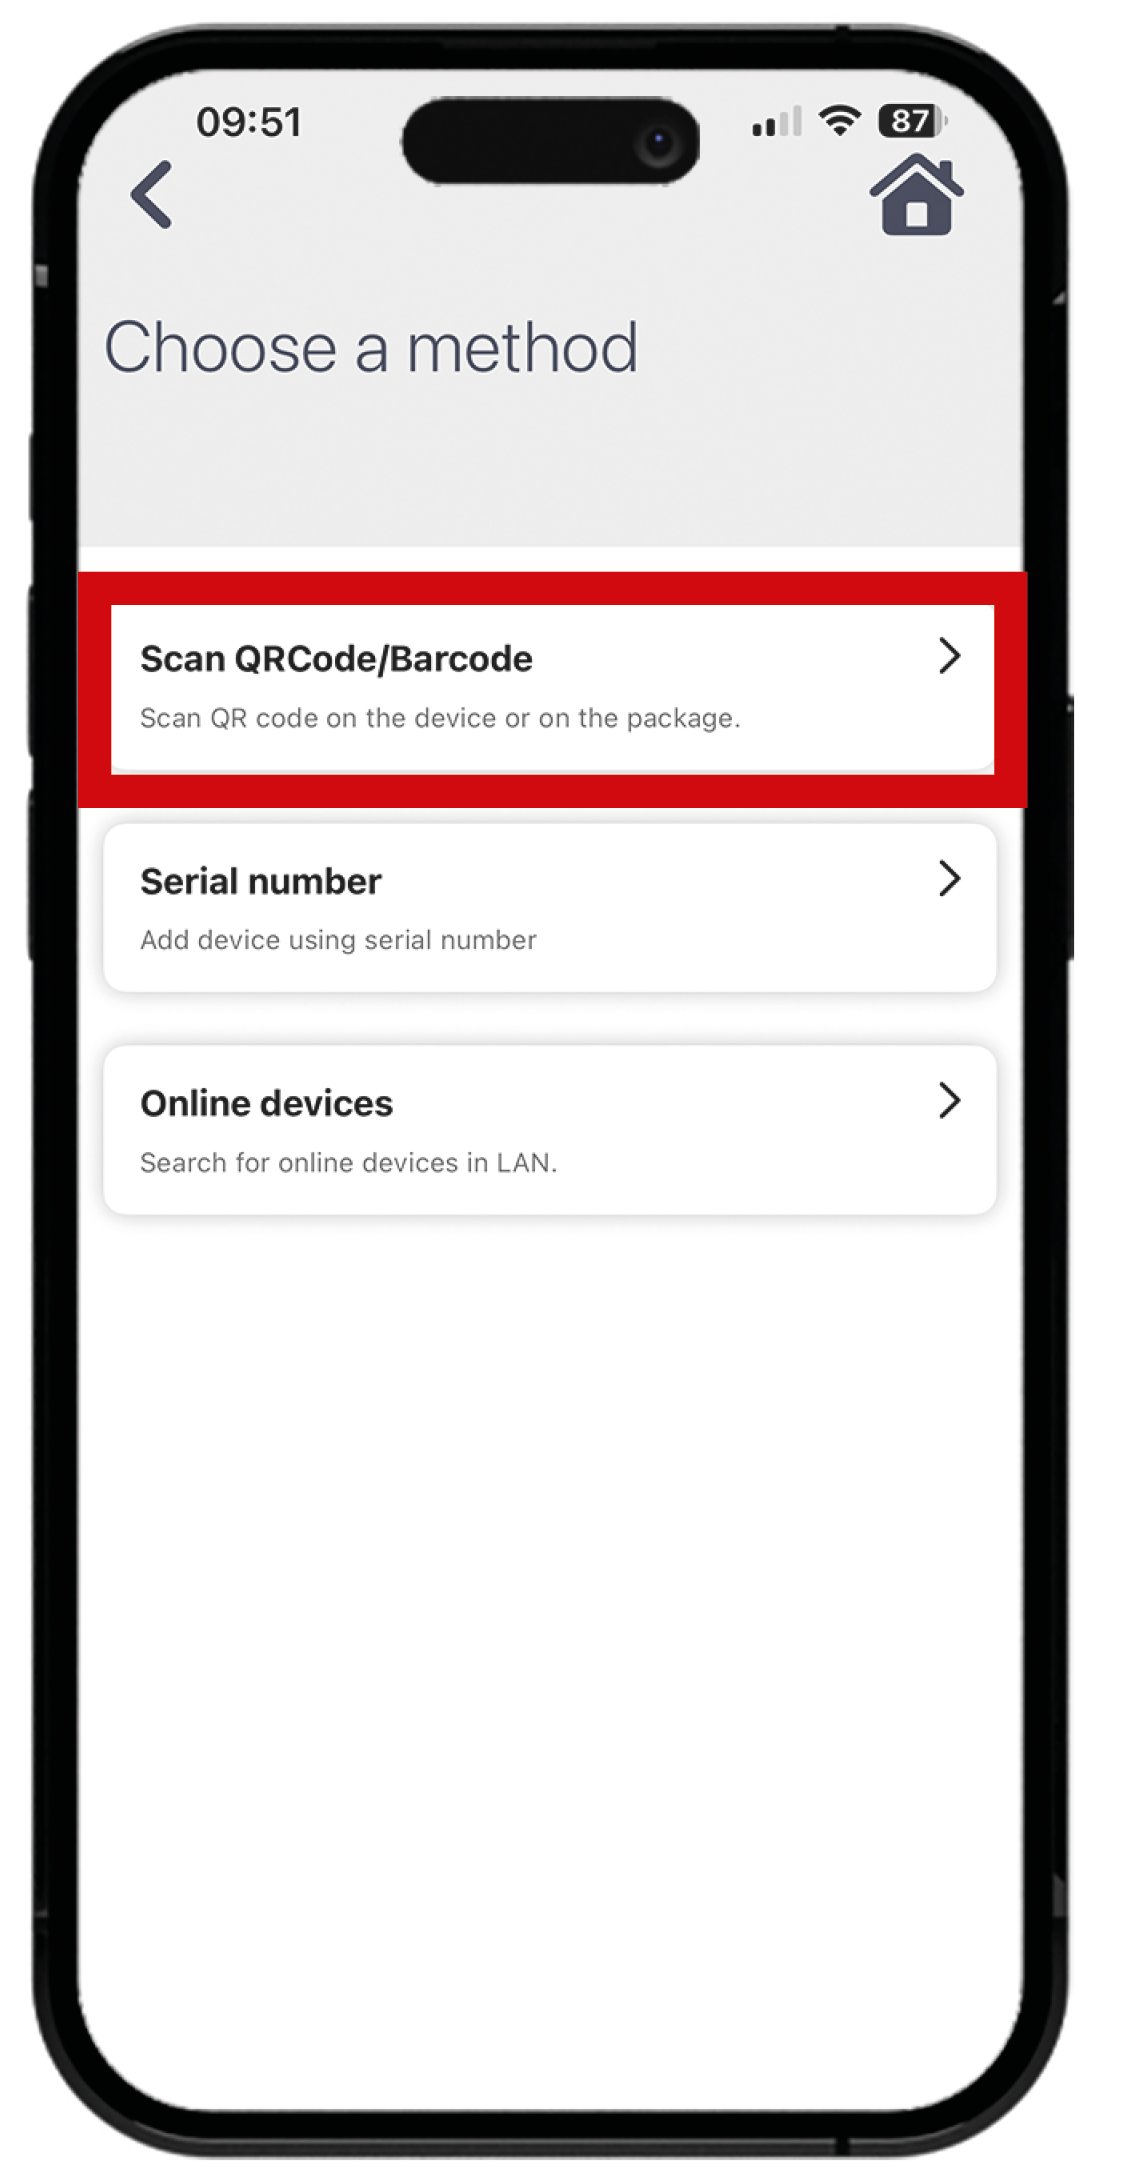
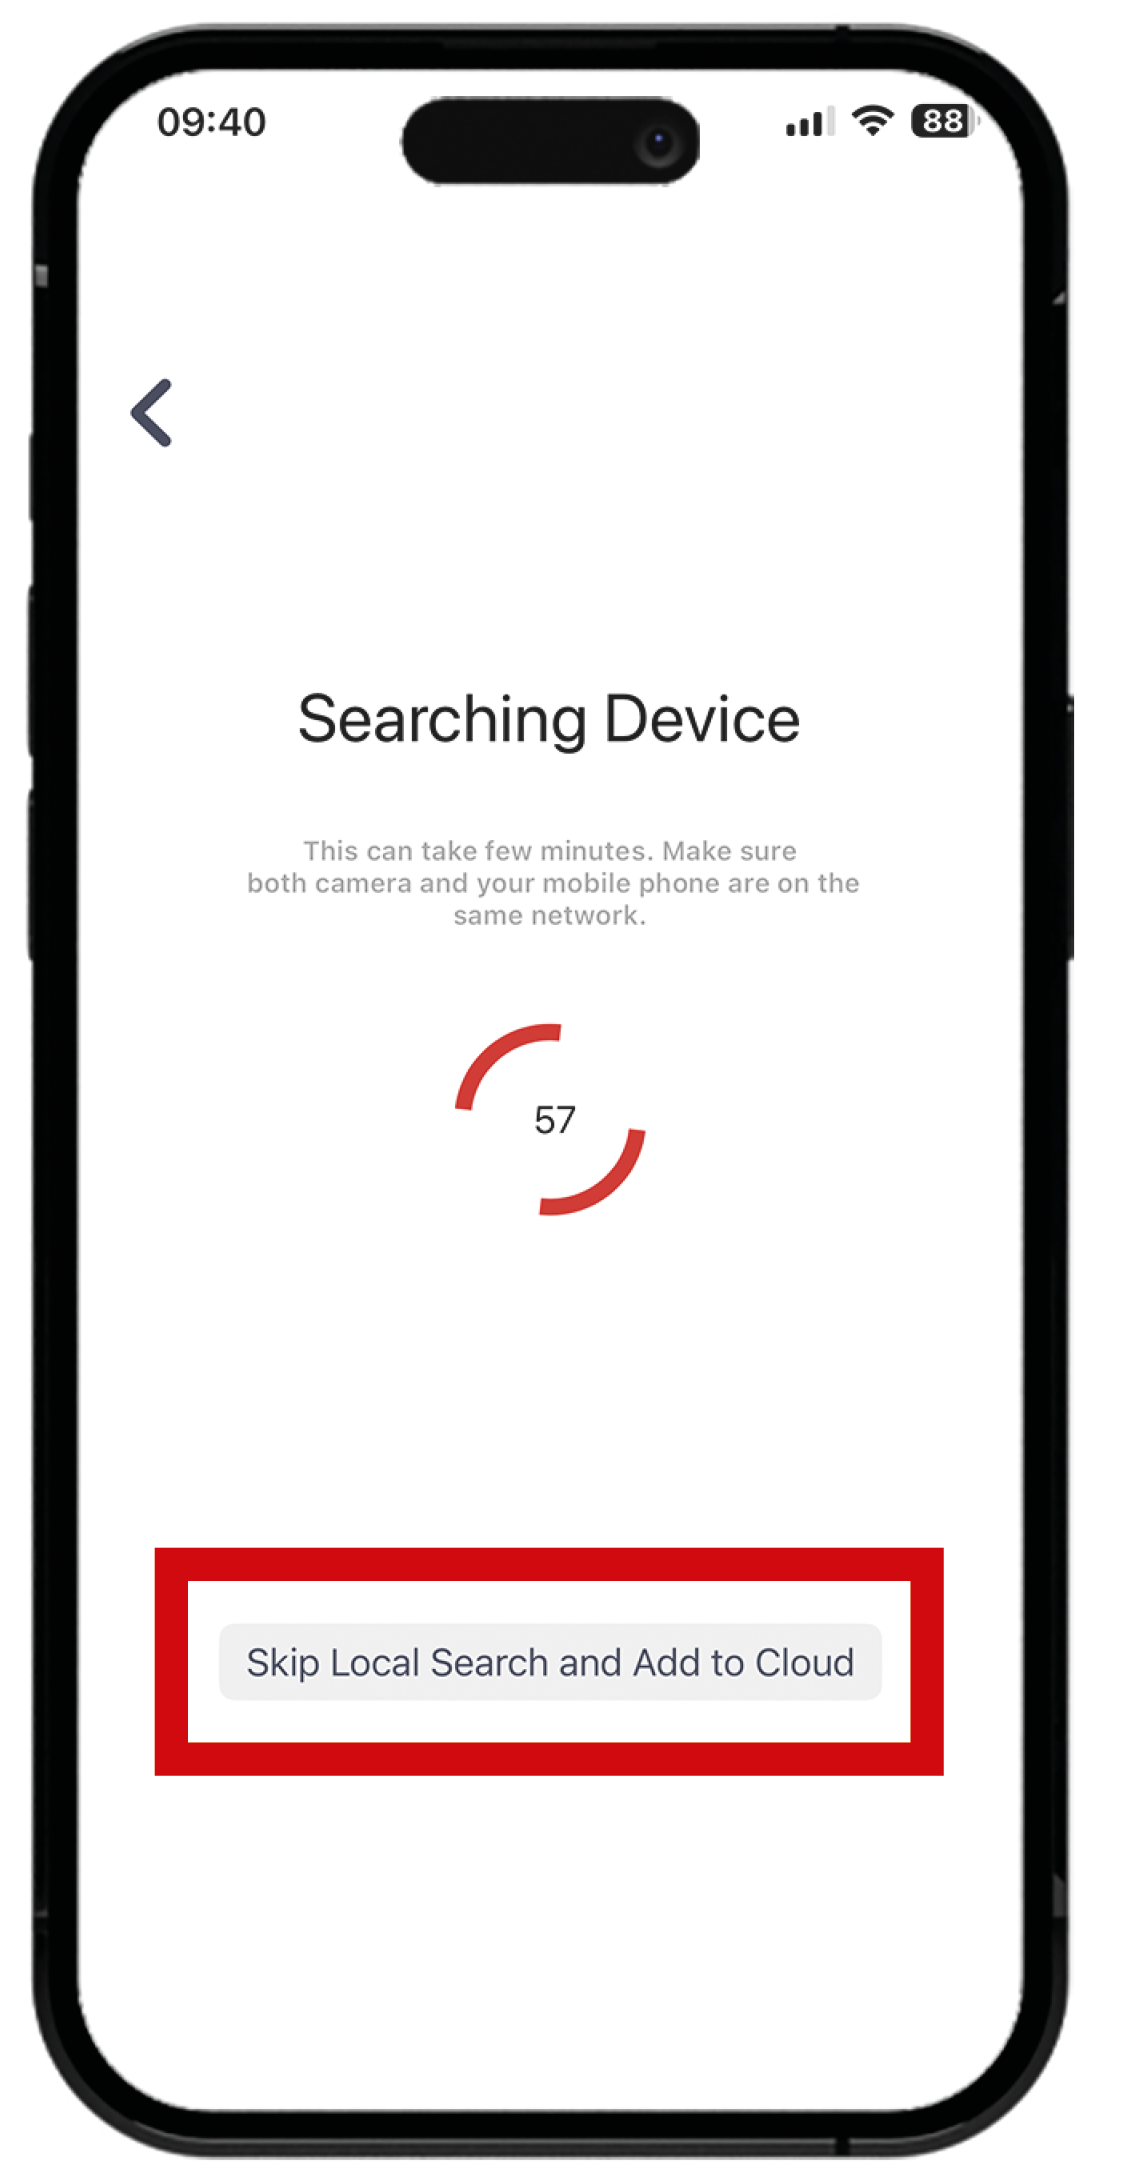
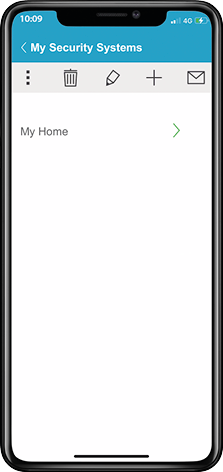
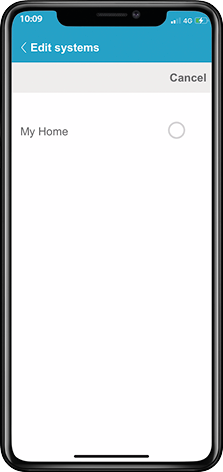
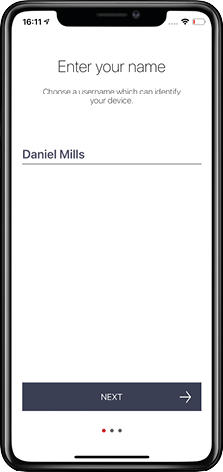
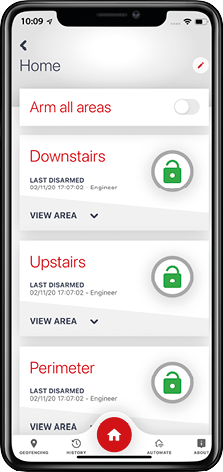
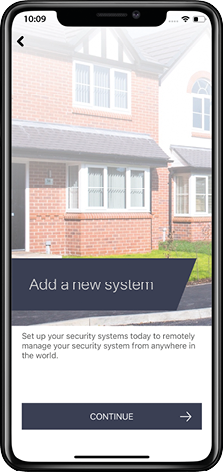
The following setup and example screens are from the point where the user has already connected to a security system. For guidance on connecting to a system please view section “Connecting to the panel”.

Via HomeControl2.0 up to 10 panel event and up to 50 app notification logs can be viewed; providing added visibility of exactly what’s happened on the system.
The ‘history’ tab ![]() on the system home screen displays the latest 10 panel events on the selected security system.
on the system home screen displays the latest 10 panel events on the selected security system.
Please note: The event log in the security system control panel will hold significantly more than displayed in HomeControl2.0.

Outputs can be configured on the security system so that HomeControl2.0 can trigger them on enable and disable them; depending on the type of output. There are two types of output pulsed and latched.
To create the widget on your device, please see the instructions provided with your handset as this may vary from model to model. Below are two examples of widgets being created on an Apple iPhone.
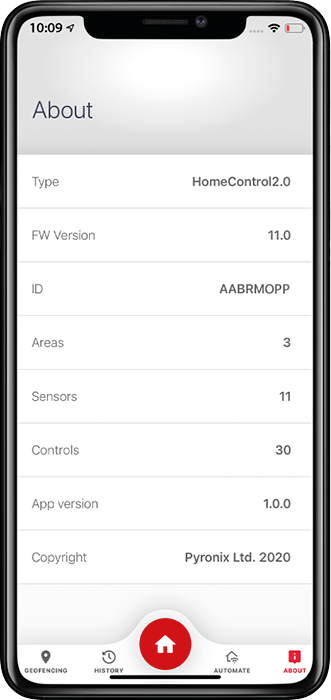 Type
Type
The smart device application name.
FW version
Displays the current firmware that the control panel of the security system is operating on.
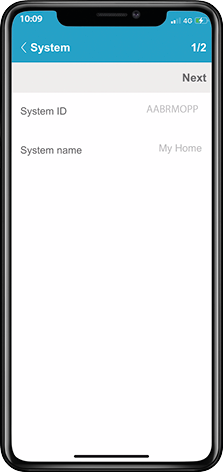
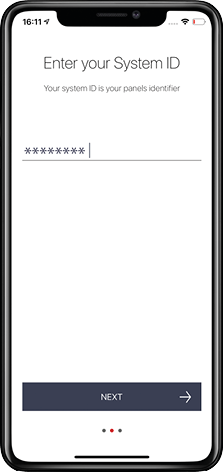
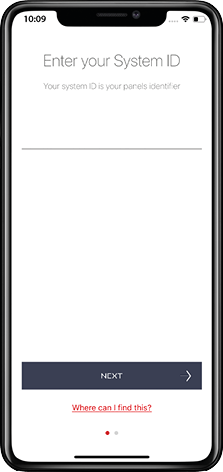
ID
The system ID of the control panel.
Areas
The number of areas on the system that have zones allocated to them.
Sensors
The number of zones learnt and programmed on the system.
Controls
The number of available user automation outputs on the system.
App version
The build version of HomeControl2.0.
Copyright
Owners of HomeControl2.0 copyright.
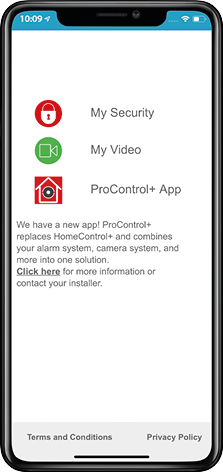
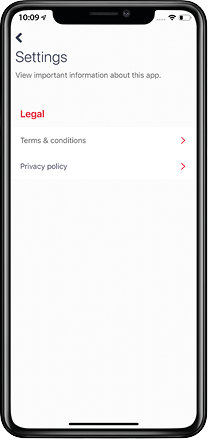 The settings tab displays the legal information about the app.
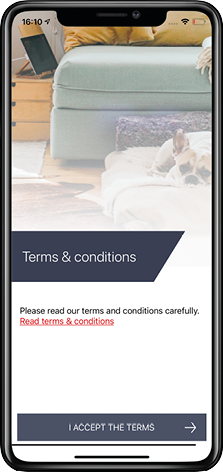
Tapping this option will take the user to the terms and conditions on the Pyronix website. These can also be viewed at the following link.
https://www.pyronix.com/uk/eula-homecontrol2/
Selecting this option will take the user to the privacy policy on the PyronixCloud website. This can also be viewed at the following link.
https://www.pyronixcloud.com/privacy-policy
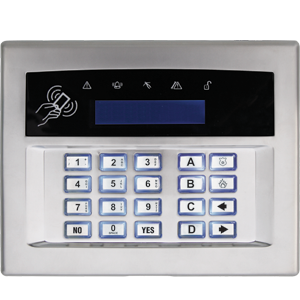 Arming Devices
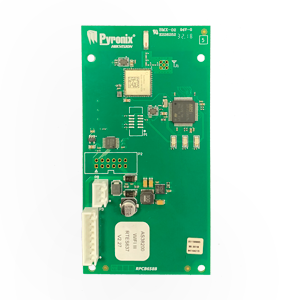 Communication Devices
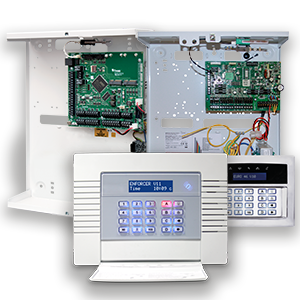 Control Panels
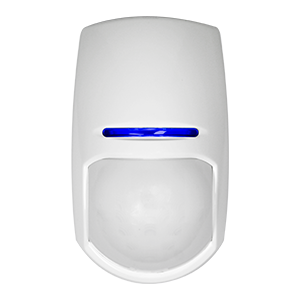 Detectors & Sensors
 Expanders
 Legacy Products
 Smart Home Devices
 Software & Services
 Sounders & Bells
 Speech Diallers
 Wi-Fi Cameras


 until the displays reads ‘SETUP APP?’, then press
  .
.